


In previous articles we have seen what Webmin is and how to install an SSL certificate. Today, we are going to give you instructions on how to install this panel. The tool can be useful for system administrators and server owners who want to simplify the management of their servers.
How to install Webmin correctly
The first thing to do is to log in to our server and start typing commands. We told you about how to order a virtual VPS/VDS server with the right rate and location in the last article.
Updating the system
Before the initialization process, you need to perform a system update. To do this, open a terminal and enter the command to update the list of packages:
sudo apt-get updateNow you need to install dependencies.
Installing dependencies
Webmin requires the Perl package, which can be installed with the following command:
sudo apt-get install perl libnet-ssleay-perl openssl libauthen-pam-perl libpam-runtime libio-pty-perl apt-show-versions python3 apt-transport-httpsNext, download the latest version of the software product.
Download the software
Go to the official website and find the link to the latest .deb file. Use the wget command to download the file. If the latest version is 1.973:
wget http://prdownloads.sourceforge.net/webadmin/webmin_1.973_all.debNow you can proceed directly to the installation process.
Control Panel installation process
Use the command to install the .deb file:
sudo dpkg -i webmin_1.973_all.debIf there are errors due to unmet dependencies, you can fix them by executing:
sudo apt-get install -fDoing everything correctly, you will most likely see the following message:
Webmin install complete. You can now login to https://nameserver:10000/ as root with your root password, or as any user who can use sudo to run commands as root.
This means that you need to go to your browser and type in the following line:
IP of your server:10000
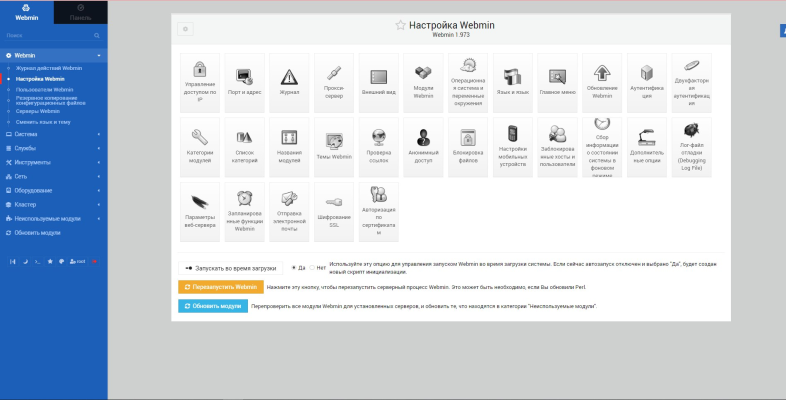
Once you have accessed the site through the link, the data entry appears which is username and password. After entering the data the user will be redirected to the main menu of Webmin.
That's all. Congratulations on your installation.