Buying a second-hand computer can be a smart move — especially if you’re on a tight budget. But no matter how tempting the price is, don’t rush. Run a few basic checks first so you don’t discover nasty surprises later.
Check the display, keyboard, and trackpad
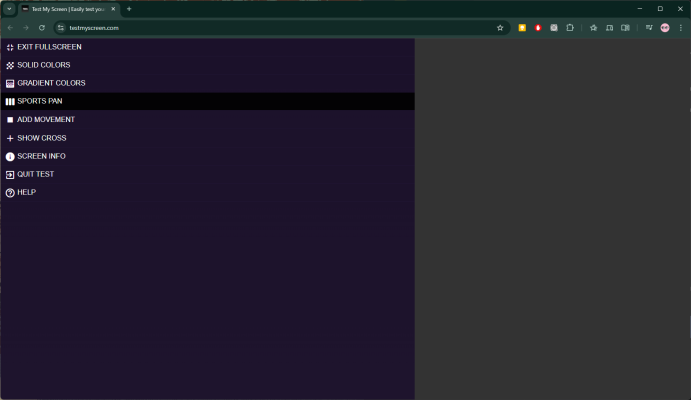
The screen, keyboard, and trackpad are the most important parts of any laptop: they define how comfortable daily work will be. To test the screen, use a site like Test My Screen and look for dead pixels, lines, discoloration, or flicker. Show solid white, black, red, green, and blue to spot defects. Then adjust the brightness to confirm it works properly and check for backlight bleed or uneven lighting.
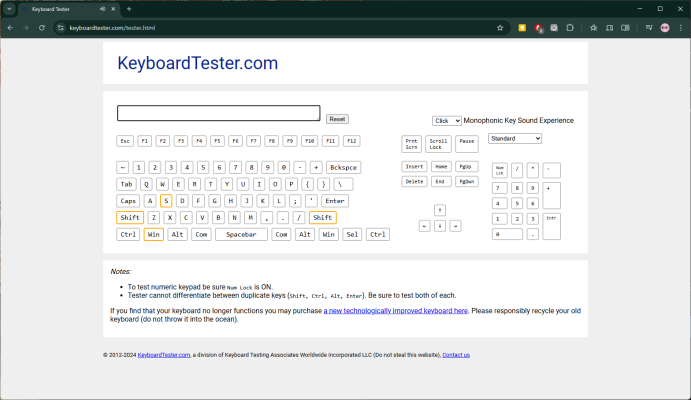
For the keyboard, an online Keyboard Tester helps you verify every key registers. Don’t forget the trackpad: make sure cursor movement is smooth and that gestures work—scrolling, pinch-to-zoom, and multi-finger taps. Also test the physical buttons: left and right clicks shouldn’t stick or feel overly stiff.
Test the webcam, microphone, and speakers
The camera is worth checking carefully—replacing a faulty module can be pricey. Open the built-in Camera app (it’s included in all modern versions of Windows), make sure the image is clear, and confirm the device is detected.
To test the microphone, go to Settings → System → Sound. Under Input, select the built-in mic and click Start test. Say a few phrases, then play back the sample to judge volume, clarity, and whether there’s any distortion. Test the speakers in the same place: under Output, select the built-in speakers and click Test to hear a sample tone and rule out crackling or other artifacts.
Run a memory test
RAM errors often look like this: data is written correctly but read back with corruption. The result is crashes, visual glitches, and random slowdowns.
The easiest way to check RAM is with the built-in Windows Memory Diagnostic:
1. Press Win + R.
2. Type mdsched and press Enter.
3. Choose Restart now and check for problems.
Your PC will reboot, the test will run automatically, and then it will reboot again.
Results may appear right after you sign in. If not, open Event Viewer:
1. Right-click Start → Event Viewer.
2. Go to Windows Logs → System.
3. In the right pane, click Find.
4. Enter MemoryDiagnostic and click Find Next.
You’ll see an entry with the test results.
Assess the condition of the drives
SSDs and hard drives are built for long service lives, but you should still check them—overall health, temperature, and whether there are bad sectors matter a lot. A failing drive leads to read/write errors, crashes, and sluggish file loads.
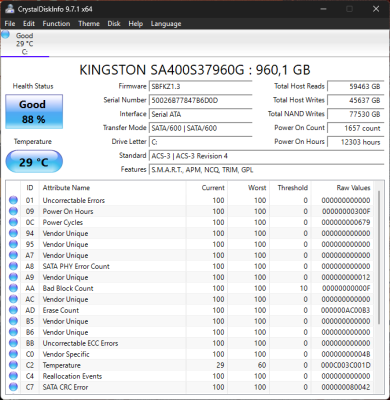
One of the handiest tools for this is CrystalDiskInfo. Launch it and review the summary for all installed drives.
Focus on Status and Temperature. Status should be Good, and temperature around 30–50 °C. In a pinch, up to ~70 °C can be acceptable, but it shouldn’t go higher.
Stress-test the CPU and GPU
Stress tests check system stability under maximum load. If the computer makes it through without freezes or errors, that’s a good sign it won’t let you down in real use.
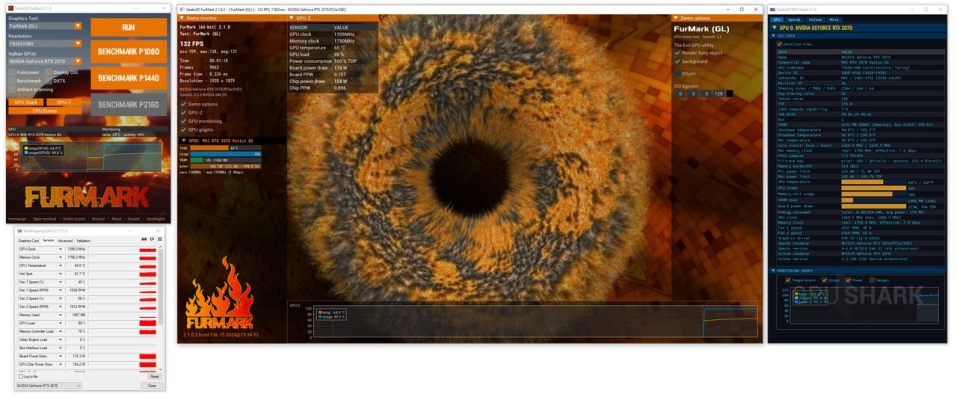
Common picks: FurMark for the GPU and AIDA64 for the CPU. You don’t need to obsess over the benchmark numbers—what matters is that the system completes the tests without overheating.
Whether you’re picking up a decade-old PC or inheriting one from a friend, these simple checks will help you gauge the hardware’s true condition. Take the time to run them all so you end up with a machine that’s genuinely reliable and fully ready to work.


