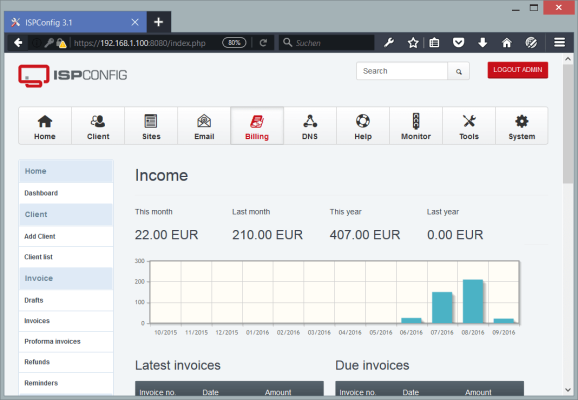
ISPConfig is a popular hosting control panel that provides administrators, website owners with a convenient interface to manage various aspects of the hosting server. In this article, we will tell you how ISPConfig is installed.
What does it allow you to do?
With its help, you can manage:
- virtual hosts;
- domains;
- mailboxes;
- databases;
- FTP accounts and other functions, giving you full control, flexibility when interacting with server resources.

Features of the tool include
- User-friendly interface: the panel has an intuitive, web-based interface that allows users to easily customize, manage their hosting resources.
- Multi-server approach: also this tool supports managing multiple servers from a single panel, making it a handy tool for hosting providers or administrators.
- Access Control, Security: provides the ability to manage user access rights, ensuring data security and preventing unauthorized access.
- Automation: automates routine tasks such as creating virtual hosts, configuring DNS zones, initializing SSL certificates, allowing users to save time and simplify server administration.
- Support for different server environments: ISPConfig is compatible with a variety of operating systems, server platforms, including Linux and Windows, which provides the flexibility to choose the server environment according to the project requirements.
It is a useful tool for those who provide hosting services or manage their own servers and want to have full control and a user-friendly interface to manage their resources.
How is the installation done?

This process can be quite complex and requires some skills in server administration. Here are the general steps using the Linux operating system as an example:
- Preparation. Install the Linux operating system. Next you need to perform (installation) of all necessary dependencies, such as web server (usually Apache or Nginx), PHP, MySQL or MariaDB, Postfix for mail server.
- Downloading. Go to the official website, download the latest version. Unpack the archive with the downloaded content on your server.
- Run the installation script. Go to the directory with the unpacked files. Execute the `bash install.sh` command to run the installation script.
- Follow the instructions of the installation script. It will ask you several questions, including database configuration, network settings, and administrator passwords. Answer them according to your requirements. Installation may take some time, so stay tuned and follow the instructions provided by the script.
- Validation. When finished, the script will provide information about accessing the control panel. Open a web browser and enter the URL provided in the installation output to access the control panel.
Note that these are general steps and the specifics of the installation depend on the selected server and operating system settings. For more detailed information and specific instructions, see the documentation, or you can make a request to a system administration specialist.
On Debian
Installing on Debian requires several steps. Here are the step-by-step instructions:
- Log in with superuser privileges. Run the
sudo sucommand - Install the required packages by running the following command:
apt update && apt install -y wget - Download the ISPConfig
installerscript by running the following command:wget -O installer.tgz [leech=https://git.ispconfig.org/ispconfig/ispconfig3/-/archive/master/ispconfig3-master.tar.gz[/leech] - Unzip the script archive, run
tar xfz installer.tgz - Go to the folder with the unpacked script, then execute the command cd ispconfig3-master/install/.
- Run the installation script
php -q install.php - Follow the instructions on the screen. You will be asked questions about various settings such as language, installation type, and passwords.
- Once complete, you will be able to access the ISPConfig control panel through a web browser. Open
yourbrowser and type in the following URL: https://<your_IP_address>:8080
You should be able to install ISPConfig on your Debian.
On Ubuntu
Follow the steps below to solve the problem:
- Log in with superuser privileges. Run
sudo su - Upgrade the system and install the required packages:
shell apt update && apt upgrade -y apt install -y wget net-tools openssl - Download the ISPConfig installation script:
shell wget -O ispconfig.tar.gz https://www.ispconfig.org/downloads/ISPConfig-3.2.5.tar.gz tar xfz ispconfig.tar.gz - Go to the folder with the unpacked script:
shell cd ispconfig3_install/install/ - Run the install script:
shell php -q install.php - Follow the instructions.
- Once the installation is complete, you will be able to access the control panel through a web browser. Open
yourbrowser and enter the followingURL https://<your_IP_address>:8080
It's simple.