


DataLife Engine is a CMS or website management system, similar to WordPress or Joomla. DLE was created to manage news portals and resources close to them by characteristics and audience. Over the years, the management system has acquired new features that gave users the opportunity to engage it on all sorts of entertainment portals.
Based on this CMS create sites for video games, resources where you can watch streaming video - the so-called streaming services. Simply put, in front of us a universal management system, surpassing some of the capabilities of analogs.
Advantages and disadvantages of DataLife Engine
Like any other system, this CMS has certain advantages and disadvantages.
Among the main advantages we should note:
- A large selection of tools for evaluating and commenting on content (makes it possible to quickly deploy an entertainment or information project of any scale);
- Performance (the system requires significantly fewer resources than WP or Joomla. It will not be difficult to deploy a resource-intensive site even on a low-power PC);
- CMS by default is optimized for productive interaction with search bots. There is no need to use third-party SEO-plugins.
The practice of using this management system has made it clear that it is, after all, far from ideal and has some disadvantages, so you need to be prepared to face them.
Among the minuses:
- Vulnerabilities, with which the developer fights almost daily, rolling out patches and thus trying to make his development more secure;
- Uncomplicated update system (the structure of individual components is complex, and most importantly - not automated. You often have to edit the code yourself).
However, there are more advantages and they often overlap the disadvantages. If the disadvantages do not scare you, then further you can read the detailed instructions for installing this CMS.
Installation of DLE on hosting
The process of installing the control system on hosting involves a few simple manipulations. So first of all you need to download the distribution with installation files Datalife Engine. It is on the official website of the developers. It is also possible hosting dle sites
Downloading the distribution
After downloading the order of actions is as follows:
1. Go to the repository dle-news.ru/release.
2. Acquire the installation script CMS and upload the files to your hard disk (archive with a name like dle_engine.zip).
3. Extract the archive to any directory.
Upload the installation files to the hosting site
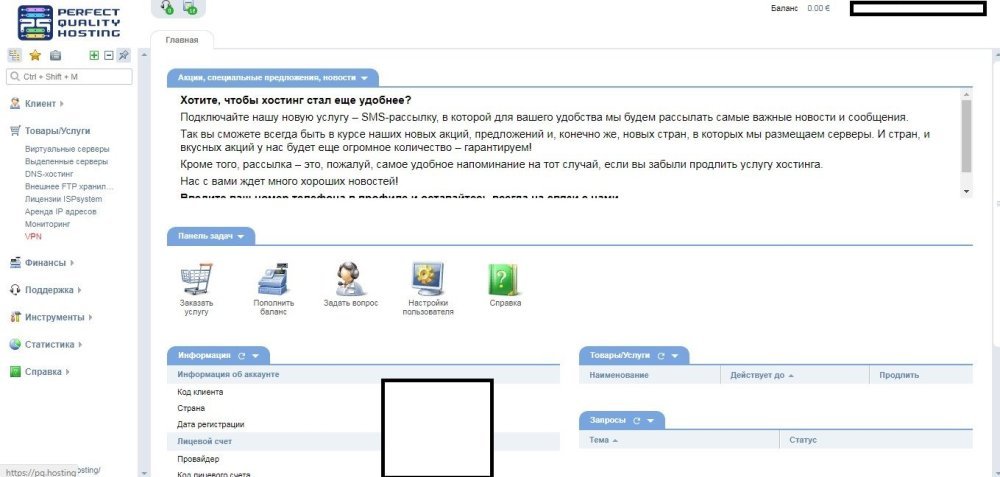
Next you need to upload the files to the hosting. You need to send the distribution of DLE in the appropriate directory on the hosting. This can be done in one of the two available ways - through the control panel or FTP-client. Many hosts have a built-in file manager, so to upload files enough to pass authorization and go to the built-in file manager.
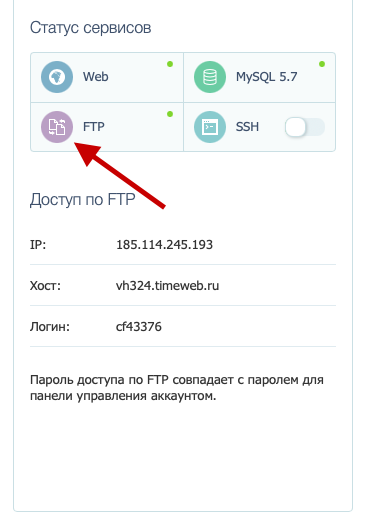
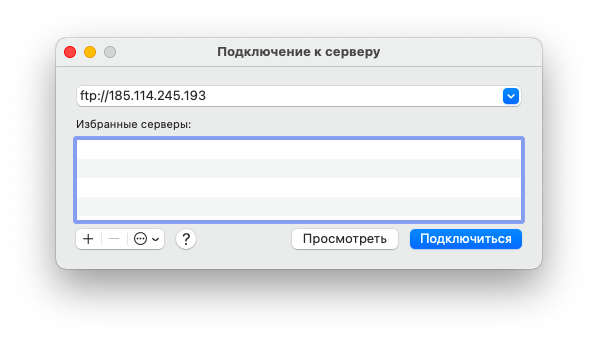
If it's easier for you to use an FTP client, you can use one of the popular programs, such as FileZilla or any other. To connect to the hosting you need to launch the client, enter your login and password (usually the hosting sends the data to the mail).
After the connection is established, we transfer the contents of the upload folder (from the distribution kit) to the root directory on the server. This completes the uploading of files.
Grant permissions to modify the distribution files
In order to continue the installation, you need to adjust read and write permissions on the installation files. The task is solved, again, either by the built-in hosting file manager, or through an FTP-client. Let's consider using FileZilla program as an example.
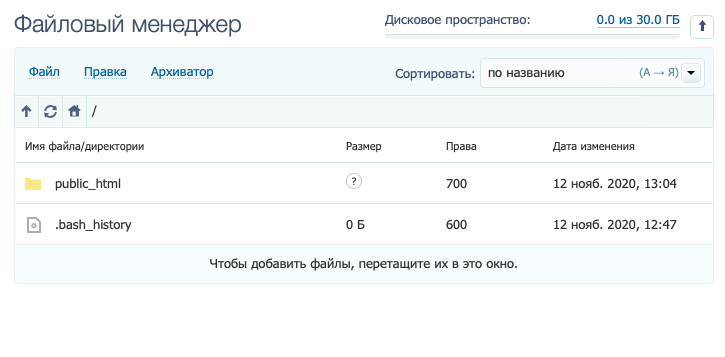
Open the public_html folder.
Right-click on the templates folder.
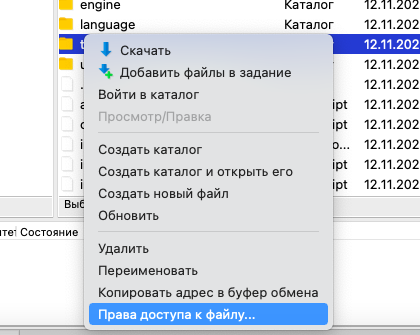
In the menu that opens, select "File permissions".
Change the numeric value to 777.
Then repeat the same procedure, setting the value to 666 and checking the "Redirect to subdirectories" checkbox.
Installing the CMS
Now, when all the necessary files are uploaded to the server and moved to the necessary directory, we proceed to the installation of CMS.
To do this:
1. Launch a web browser.
2. In the address bar specify the path to the script DLE on your site. For example (test sample): http://sait-test.com/install.php (the domain must be bound to the directory).
3. On the screen will appear interface DLE, on which click "Start installation".
4. In the end agree with the terms of use of CMS, check the box next to "I accept this agreement".
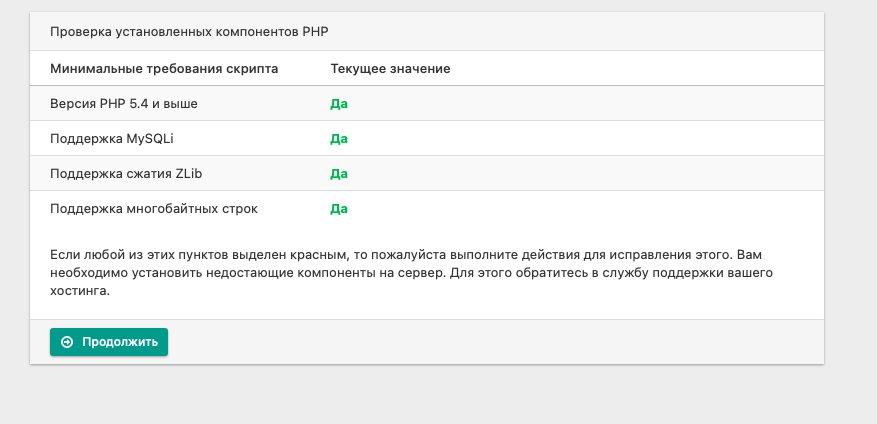
5. Check the server for compliance with the minimum requirements of DLE, then click "Continue".
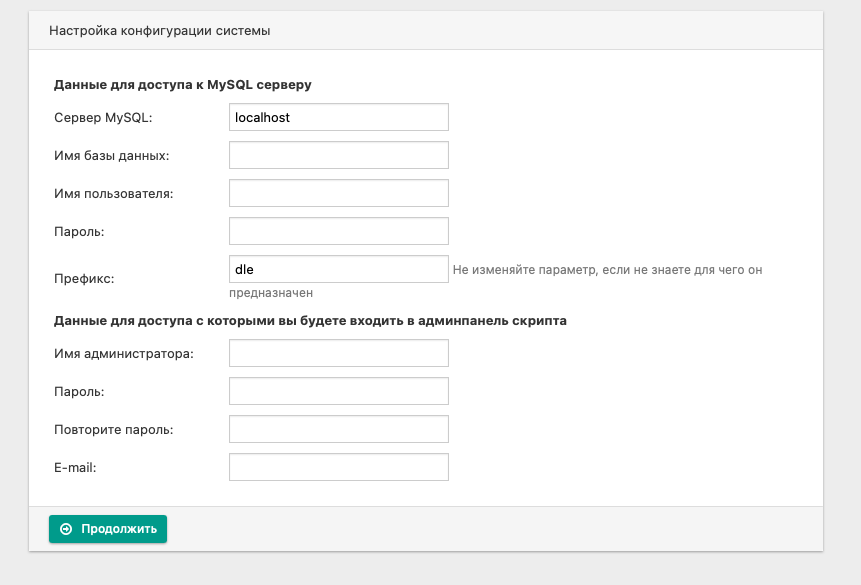
6. Then on a new screen we specify information about the database site: MySQL server, database name, username, which we created for the new database, and password.
7. Specify the information for creating a new user in CMS: login and password.
8. Open the file manager and delete the install.php script from the hard disk of the server.
If you have done everything correctly, the site management system should function properly.
Installing DataLife Engine on VDS
Install CMS on a dedicated server can be any of the three known ways:
1. Through the control panel of the hosting (provided that the hosting supports this CMS).
2. Manually through the command line.
3. Manually through a third-party control panel. For example, ISPmanager or Plesk.
Before starting work on the installation of DLE must create a working domain on your server, to which the site files will be bound. Since not every hosting does not support this CMS, consider the last two methods.
Through the control panel
Let's consider the installation process through the control panel, namely ISPmanager. This is a relatively popular and popular control panel among users. In our case, it is optimally suited for the task at hand. The first thing to do is to create a database, as no system can function without it.
To do this, you need to:
Go to the ISPmanager sidebar.
Click on "Tools".
Select "Databases".
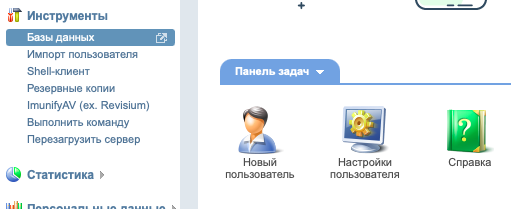
Click "Create".
Enter the parameters of the new database: name (any), MySQL server type, standard UTF-8 encoding. Create a new user, give him any name and make up a password.
Download the management system
Download the distribution as in the case of shared hosting.
The further order of actions will be somewhat different:
1. Open ISPmanager.
2. Go to the "System" menu.
3. Open "File Manager".
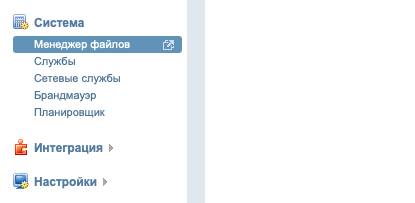
4. Find the "Download" button at the top and click it.
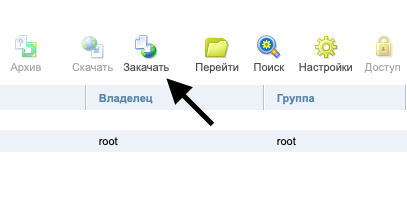
5. Select the file from the hard disk and click OK to download the CMS distribution to the server.
Transferring files to the root directory
The distribution cannot be used in its original form. The detected components should be transferred from the archive to the key directory of your resource;
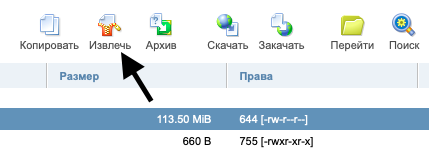
1. Select the archive in the ISPmanager directory and click "Extract" in the toolbar.
2. Specify the directory for unpacking the archive.
3. In the directory where the distribution kit was unpacked, look for the upload folder and open it.
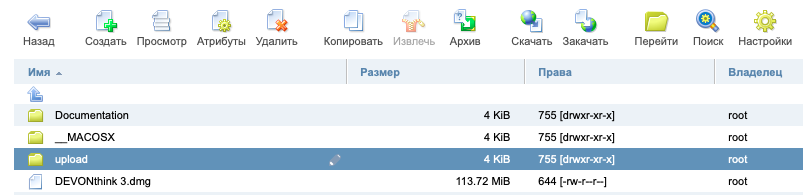
4. Mark all DLE components and select "Copy".
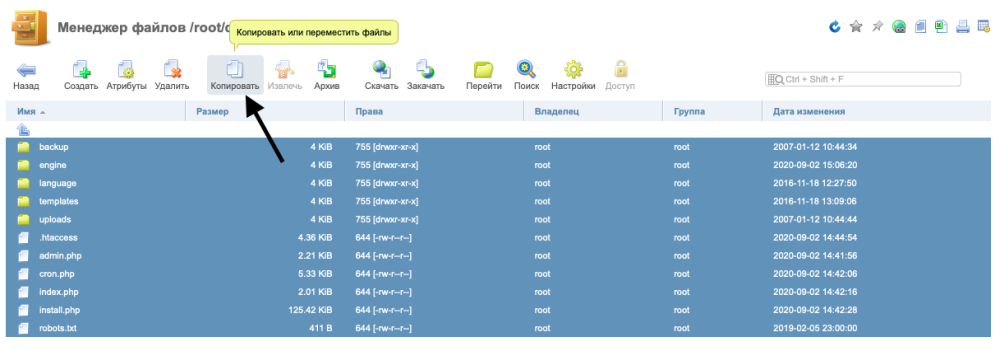
5. Specify the root directory of the server.
Next you need to make sure that you have the rights to edit the selected files and folders. Should be 755 and 644. The process of installing DLE is the same as in the case of shared hosting. Open our site (above test sample) http://sait-test.com/install.php and follow the install prompts.
Command line
You can install CMS through the command line. It is not difficult. It is enough to have basic skills with the terminal. Before you start, do not forget to prescribe domain names in the hosts file and correctly specify the root directory where the main resource files will be stored. First - connect to the server.
Users of Linux or macOS need to turn on the terminal and enter a command to connect to the server via SSH. For example, in our case it is:
ssh root@89.223.127.80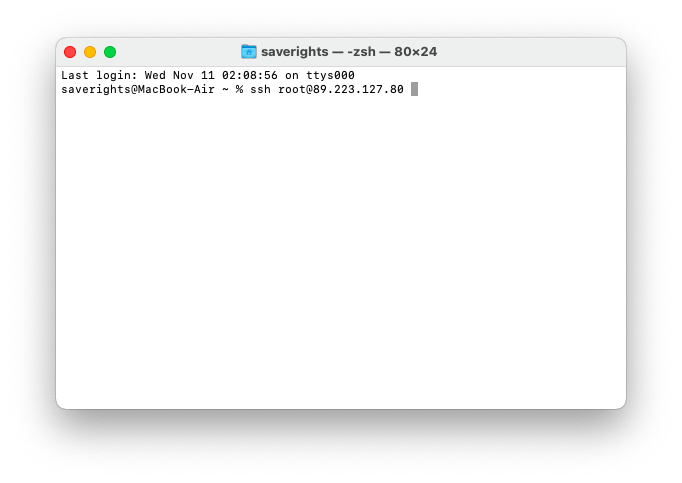
You just need to change the address to the address of your server. It is specified in the VDS control panel. For Windows users, we recommend downloading PuTTY. Next, specify the IP address of the resource in it and click OK. To connect, enter a password. As a rule, the provider sends it by mail. When you enter it, it will not be displayed in the terminal. Having established a connection to the VDS, you can go directly to the configuration and loading of DLE.
Create a database
As in the example of ISPmanager you should create a database. However, in this case, all the work will have to be done by hand without using plugins and control panel.
Install the mysql utility using the command with the following syntax
*package_manager* install mysqlCreate a new database by typing in the terminal
CREATE DATABASE *database_name*;Create a user:
CREATE USER '*username_of_your_choice*@localhost' IDENTIFIED BY '*password_of_your_choice*';Grant database permissions to the newly created user:
GRANT ALL PRIVILEGES ON *database_name*.* TO '*username@localhost*';Type the command
FLUSH PRIVILEGES;Finish working with the MySQL client:
exitProceed to the next step.
Loading the site management system
As soon as the database is created, go to load the DLE itself. This can be done as in the example above - through the command line. As an example, we use a demo version of DLE with restrictions. You can use both the demo and the full product after purchase.
First download the site management system from the official repository:
wget https://dle-news.ru/files/dle_trial.zip
After that unpack the downloaded archive with the command:
unzip dle_trial.zipMove the contents of the upload folder to the root directory of the domain where DataLife Engine will be installed:
mv ~/upload *path_to_root_folder_site_folder*Check the availability of permissions to edit selected files and folders. Should be 755 and 644 respectively. Checked with the command:
ls -aIn conclusion, the DLE itself is installed. This is the end of the instruction. As you can see, nothing complicated in the installation of the system on hosting and dedicated server is not. If you fear for the safety of your project, then just periodically update the CMS and do not use templates that need manual revision after the installation of each patch. So you will increase the security of the site and will be able to avoid many problems.