


BlueOnyx is a popular and reliable web hosting service based on CentOS operating system and Linux kernel. It is designed for web server management, data storage and content management, and offers many tools for managing virtual hosts, websites, email, databases and other tasks that a webmaster needs.
With its robustness and user-friendly interface, BlueOnyx allows you to hand over the management of your hosting to multiple users with different levels of expertise, allowing them to set up and manage their sites in a short amount of time. BlueOnyx is open source software and can be installed on any CentOS server.
BlueOnyx Interface
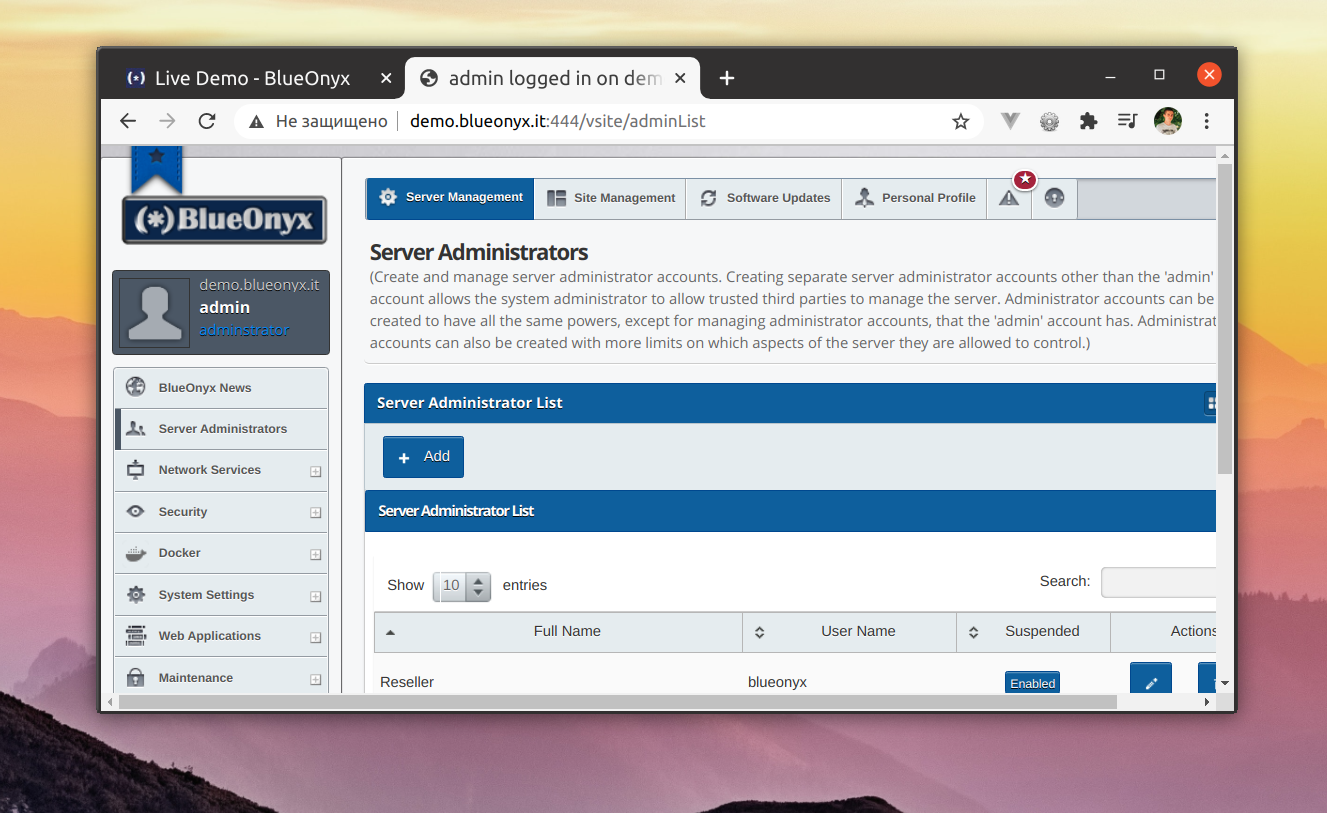
The BlueOnyx interface is a web-based interface that allows you to conveniently manage your web server settings and other services. It has an intuitive interface and is easy to learn even for users who have no experience with control panels.
The BlueOnyx main menu is located at the top of the screen and contains all the main control items including:
- File Manager, which allows you to manage files and folders on the server, allowing you to move and copy files.
- Database Management, which allows you to manage MySQL databases.
- FTP Control Panel, which allows you to configure and manage an FTP server.
- Apache web server management, allowing you to customize web server settings, including virtual hosts, SSL certificates, etc.
- DNS manager, allowing you to configure DNS server and add/remove DNS records.
- User and Group Management, which allows you to create and manage user accounts with different access levels.
- Security Settings, which allows you to manage the server's security settings, including firewall settings and other settings.
The BlueOnyx interface has other tabs that allow you to manage PHP settings, backups, and other services. The overall interface of BlueOnyx is very user-friendly and easy to navigate for a user with any level of control panel experience.
Key Features
BlueOnyx is a free control panel for hosting providers and system administrators to manage web servers. Here are some of the features of BlueOnyx:
- Easy installation: the BlueOnyx control panel is quick and easy to install. It is intuitive and requires no special training.
- Powerful management: BlueOnyx gives the administrator access to features such as Apache web server management, MySQL database management, FTP server management, DNS server management and more.
- Security: provides a high level of security, includes SSL certificate management, backup capabilities and more.
- Application Deployment: BlueOnyx makes it easy to deploy and manage applications written in PHP, Python, Node.js, etc.
- Account System: allows the administrator to create and manage user accounts and assign them different rights and roles to access resources.
- GUI: BlueOnyx is GUI based, making it easy to use even for users with no command line experience.
BlueOnyx is a powerful and user-friendly web server management tool that makes administration easier and increases the security of your data.
Advantages and disadvantages of BlueOnyx
Advantages of BlueOnyx:
- Ease of use: the control panel has a simple interface that is easy for any user to understand and use.
- Security: provides high protection against any online attacks due to its multi-layered security systems.
Disadvantages:
- Limited number of plugins: may be limited in the number of plugins that can be installed.
- Dependence on developers: in case of any problems, BlueOnyx users may depend on developers to update and fix problems.
Connecting SSL in BlueOnyx
The instructions for connecting SSL are as follows:
-
Before you start connecting your SSL certificate, make sure your server has port 443 open.
-
Then go to the "SSL Certificates" section under the "Servers" menu in your BlueOnyx control panel.
-
Create an SSL certificate request, specifying the name of the domain for which you want to protect traffic.
-
Save the SSL Certificate request in .csr format on your local machine.
-
Order an SSL certificate from a licensed provider.
-
Obtain the SSL certificate from the vendor and save it on your local machine.
-
Upload the SSL certificate to the BlueOnyx server and import it into the BlueOnyx control panel.
-
Start the certificate installation process and follow the instructions.
-
After the SSL certificate is successfully installed, restart the web server for the changes to take effect.
-
Verify that the SSL certificate was successfully installed by browsing to your site using the HTTPS secure protocol.
If the SSL certificate installation was successful, your site should show a green padlock in the browser address bar and the site address will start with https instead of http Next, verify the SSL certificate is working by using an online checker such as SSL Labs or Qualys SSL Test. Make sure that all links on your site also use HTTPS to avoid security errors or canceled SSL connections. Keep an eye on the expiration date of your SSL certificate and renew it in a timely manner.
Connecting an SSL certificate on BlueOnyx may take a few steps, but it is very important to keep your website and visitor data secure.