


Hyperliquid is a decentralized perpetual exchange offering top-notch speed, liquidity and pricing, Hyperliquid is a high-performance Tier 1 blockchain optimized from the ground up.
Keep in mind that there is currently no way to link a wallet to a node. It is not a validating node. There is no public key generation. The only way to establish a connection between you and the node is through the IP address of your VPS.
VPS Configuration
To deploy a host, you have two options: host it on your own computer or install it on a virtual dedicated server (VPS). The latter option is ideal for hosting websites, applications, or nodes.
Intermediate configuration is required to run HyperLiquid Node.
CPU: 4
RAM: 16
Storage: 400gb
OS: Ubuntu 20.24 (only)
To connect to your VPS you will need to download the Putty program, which will allow you to establish a secure connection to your VPS and access its features.
User Creation
Node cannot be run from the root user. You will need to create a user on your VPS to start the node:
adduser hl
usermod -aG sudo hl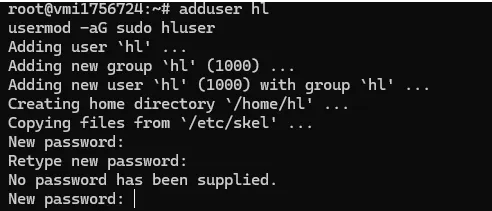
Set a password for the session, then press ENTER to accept the default values.
Then log in to the session:
su - hl
Installing the core components
Before you can start configuring the node, you need to upgrade your VPS. To do this, simply run the following command in the terminal of your VPS:
sudo apt-getupdate&& sudo apt-get upgrade -y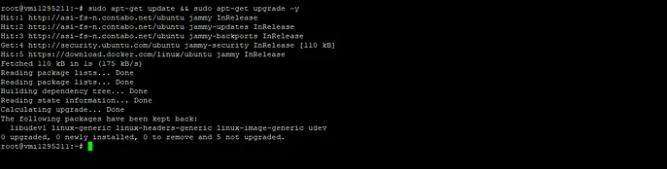
Load Screen:
apt-get install screen -y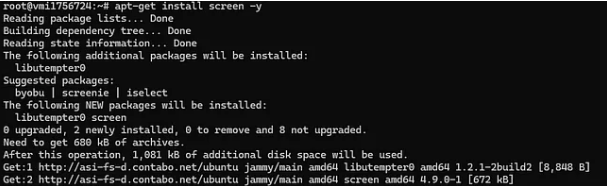
Node Configuration
Load an initial set of peers to establish the first connection between your node and the rest of the network:
curl https://binaries.hyperliquid.xyz/Testnet/initial_peers.json > ~/initial_peers.json
Configure the node to run on the test network:
echo'{"chain": "Testnet"}' > ~/visor.json
Download the configuration file:
curl https://binaries.hyperliquid.xyz/Testnet/non_validator_config.json > ~/non_validator_config.json
Download the binary visor:
curl https://binaries.hyperliquid.xyz/Testnet/hl-visor > ~/hl-visor && chmod a+x ~/hl-visorStarting a node
You can start your node in a Screen session:
screen -S hl
This will open a new session where you can run your node in the background.
To exit the session, press CTRL+A+D
To reconnect to the session, run the following command:
screen -r hlStart the HyperLiquid node:
~/hl-visor
The node displays no messages. You can now log out of the Screen session by pressing CTRL+A+D
You can check if your node is running by checking if the hl directory exists:
ls
This concludes the instructions!
Thank you for your time to everyone who has read, I hope this instruction was helpful to you!