


This is the name of a queue server that can handle messages using AMQP (Advanced Message Queuing Protocol). Several other protocols are also used with the help of plugins. Most often used as a broker of text messages, it receives messages from programs that generate them and delivers them to programs that are ready to receive them. The server itself is written in Erlang.
Adding keys
First of all it is necessary to add to the system all the keys that are used to sign repositories with Erlang and RabbitMQ. If you do not have the curl and gnupg utility installed on your system, install it:
$ sudo apt install curl gnupg -yTo add keys, run commands such as these:
$ curl -1sLf "https://keys.openpgp.org/vks/v1/by-fingerprint/0A9AF2115F4687BD29803A206B73A36E6026DFCA" | sudo gpg --dearmor | sudo tee /usr/share/keyrings/com.rabbitmq.team.gpg > /dev/null$ curl -1sLf https://dl.cloudsmith.io/public/rabbitmq/rabbitmq-erlang/gpg.E495BB49CC4BBE5B.key | sudo gpg --dearmor | sudo tee /usr/share/keyrings/io.cloudsmith.rabbitmq.E495BB49CC4BBE5B.gpg > /dev/null$ curl -1sLf https://dl.cloudsmith.io/public/rabbitmq/rabbitmq-server/gpg.9F4587F226208342.key | sudo gpg --dearmor | sudo tee /usr/share/keyrings/io.cloudsmith.rabbitmq.9F4587F226208342.gpg > /dev/null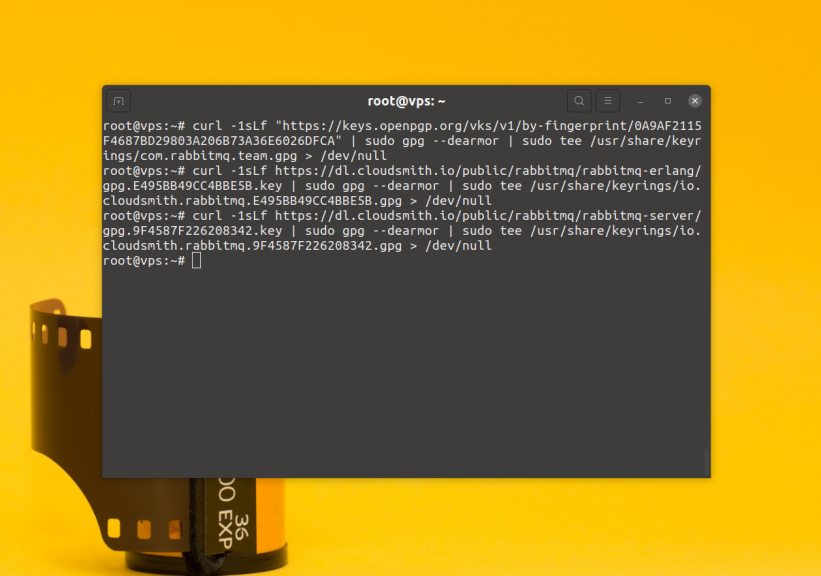
Add Repositories
To work with repositories you need to install the apt-transport-https package:
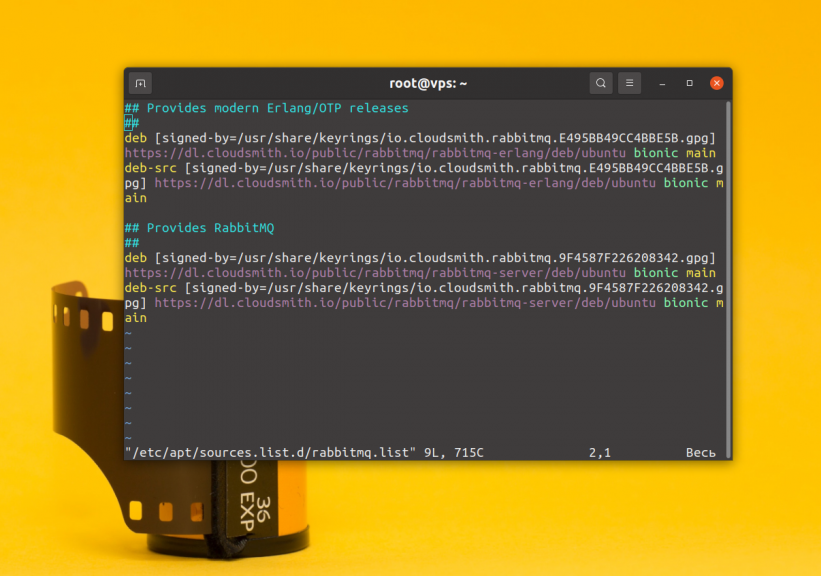
$ sudo apt install apt-transport-httpsCreate the file /etc/apt/sources.list.d/rabbitmq.list and add the Erlang repositories to it first:
$ sudo vi /etc/apt/sources.list.d/rabbitmq.list
Then repositories:

After saving your changes, remember to update the package lists in the repositories:
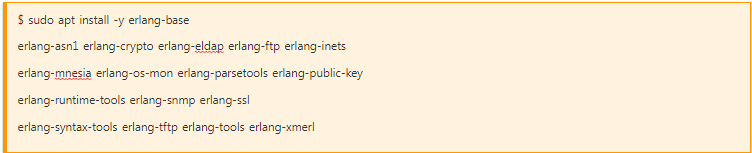
To install all necessary components of erlang packages perform:
Once it has been installed:
$ erl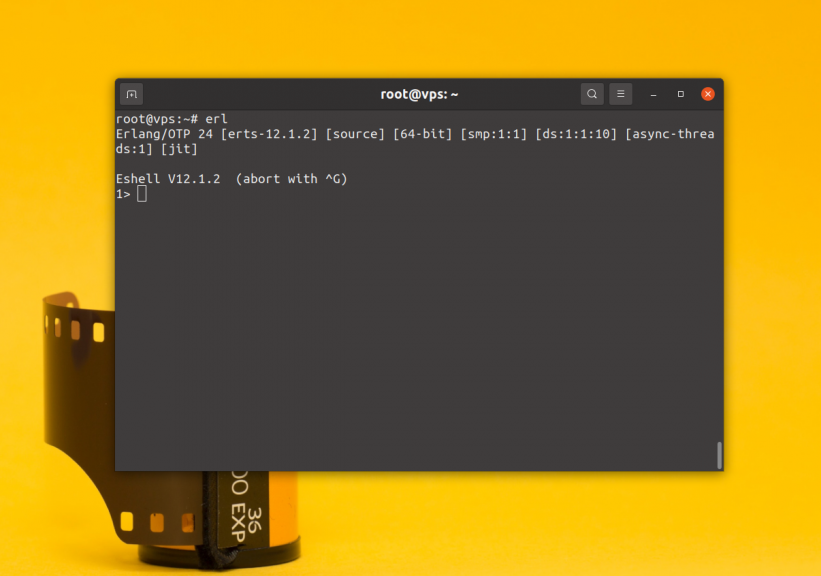
To exit the console press Ctrl+C and follow the instructions.
Installation process
To install, run the command:
$ sudo apt-get install rabbitmq-server -y --fix-missingThen verify that the server is up and running:
$ sudo systemctl status rabbitmq-server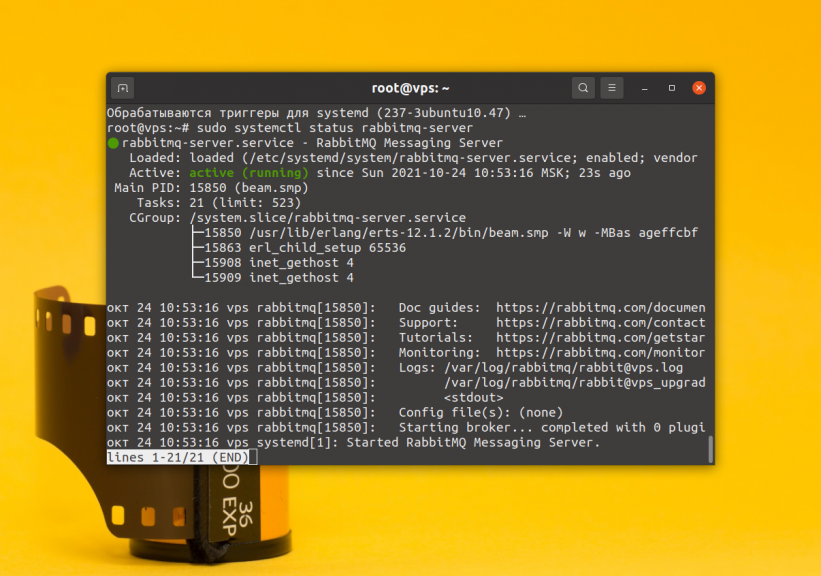
Interface
If you want to have access to the web interface, you need to enable it as well. To do this, run:
$ sudo rabbitmq-plugins enable rabbitmq_management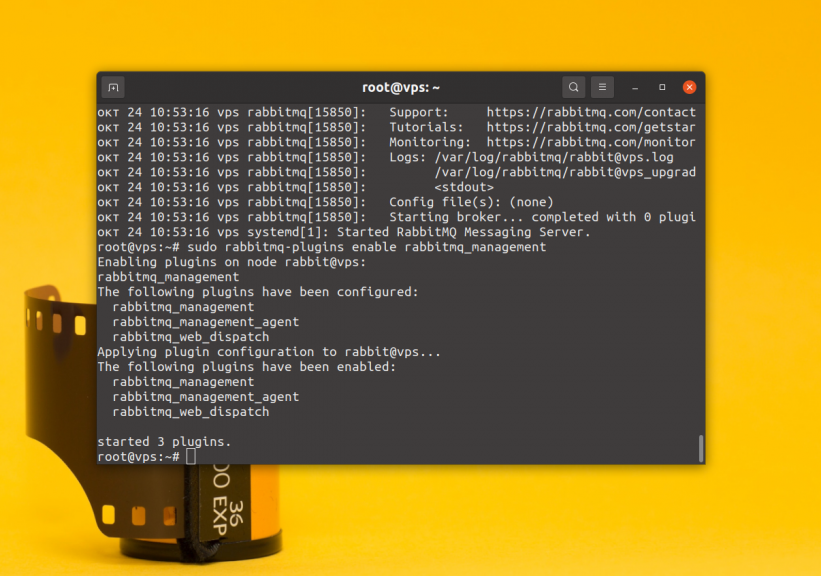
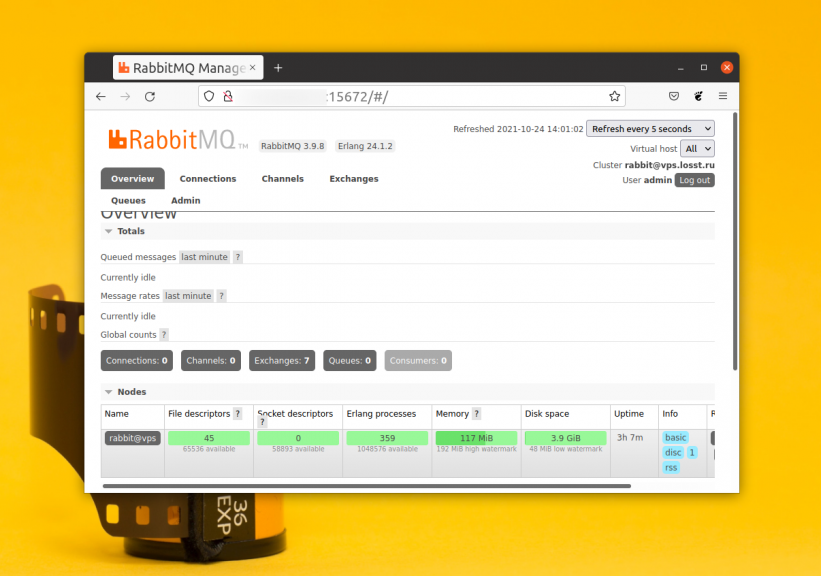
Access the web interface at http://адрес_сервера:15672, for localhost it will be http://localhost:15672. The default login and password for access is guest:guest. But these access details only work for localhost. If you need to connect remotely, you need to create a new user. For example, let's create the admin user:
$ sudo rabbitmqctl add_user admin hard_passwordTo make the newly created user an admin, run this command:
$ sudo rabbitmqctl set_user_tags admin administratorIn addition, this user must be given access:
$ sudo rabbitmqctl set_permissions -p / admin ".*" ".*" ".*"After the configuration is complete, you will be able to log in to the web interface of the program on behalf of the newly created user:
Installation with DOCKER
If you want to try RabbitMQ on a work machine, the best way to do this is to use Docker. To start a container with RabbitMQ, all you need to do is run a command like this:
$ docker run -it --rm --name rabbitmq -p 5672:5672 -p 15672:15672 rabbitmq:3.9-management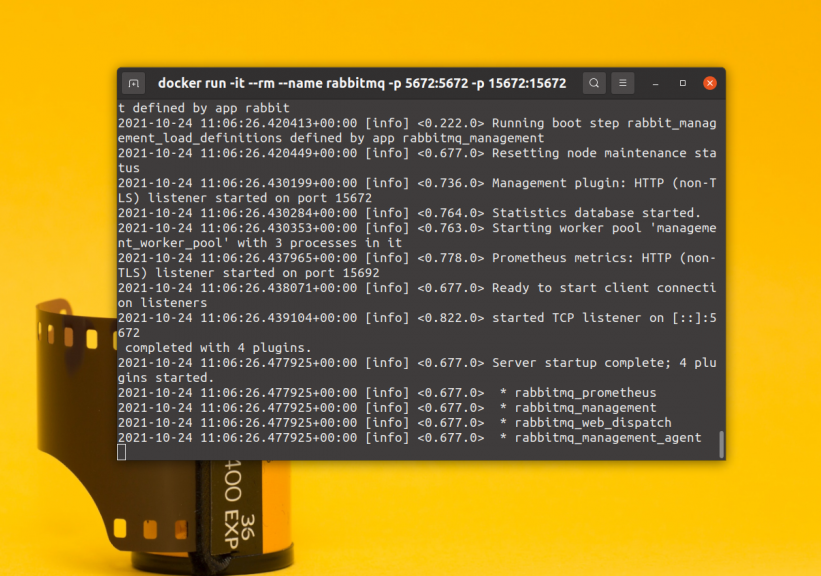
This completes the instruction.