After the official Gnome development branch moved to version 3, its desktop environment was created as a fork of Gnome 2. The new version introduced major changes in appearance, but most importantly, major changes appeared in the functionality of the shell. However, not all users accepted all the changes.
Work on Mate has been going on since 2011, during this time the environment gained popularity and now it comes as a separate edition of Ubuntu. But if you don't want to reinstall your system and would like to use MATE right now, let's see how to do it using Ubuntu 20.04 as an example.
Installing Mate in Ubuntu 20.04
The first thing to do is to update the packages installed on your system:
$ sudo apt update
$ sudo apt full-upgrade
You can install MATE in Ubuntu 20.04 available in the official repositories. To do this, first install the tasksel utility:
$ sudo apt install taskselTo install MATE run:
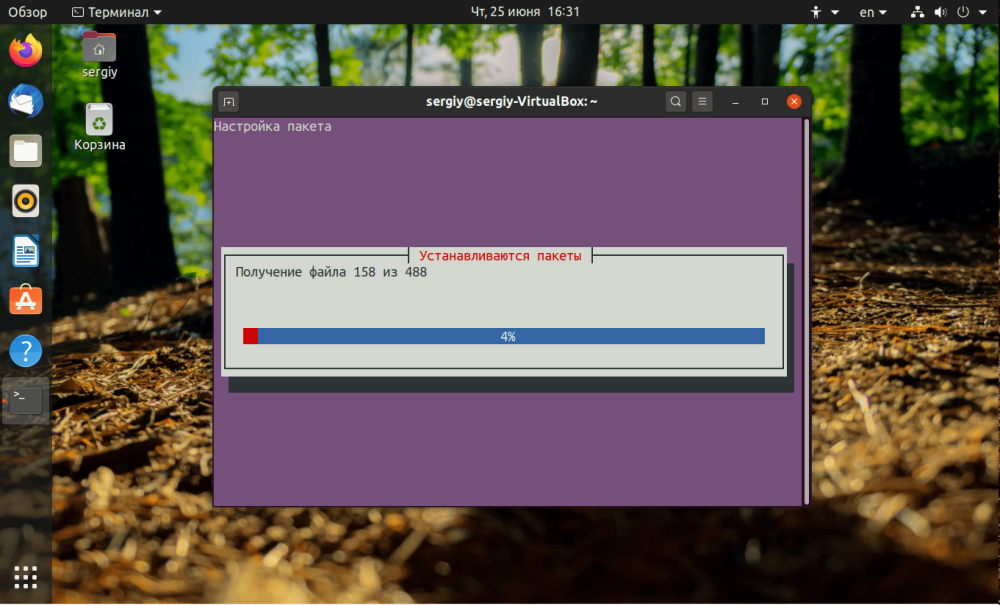
$ sudo tasksel install ubuntu-mate-desktop
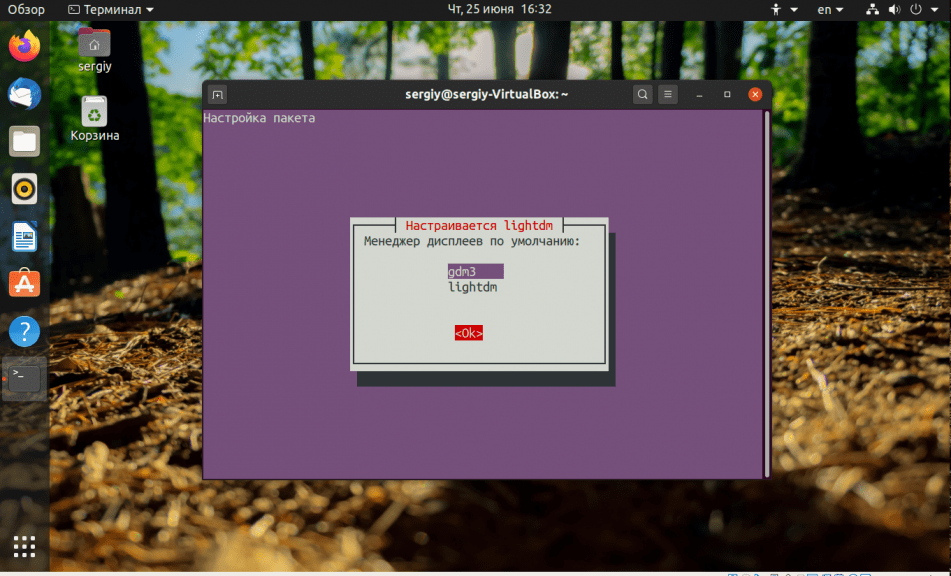
During the initialization of the program, select the login manager that will be used to authorize users on the system. You can leave GDM3 or enable SDDM:

After the installation is complete, you must restart the computer or terminate the session. To start a session with MATE click on the gear in the lower right corner of the login manager and select Mate:

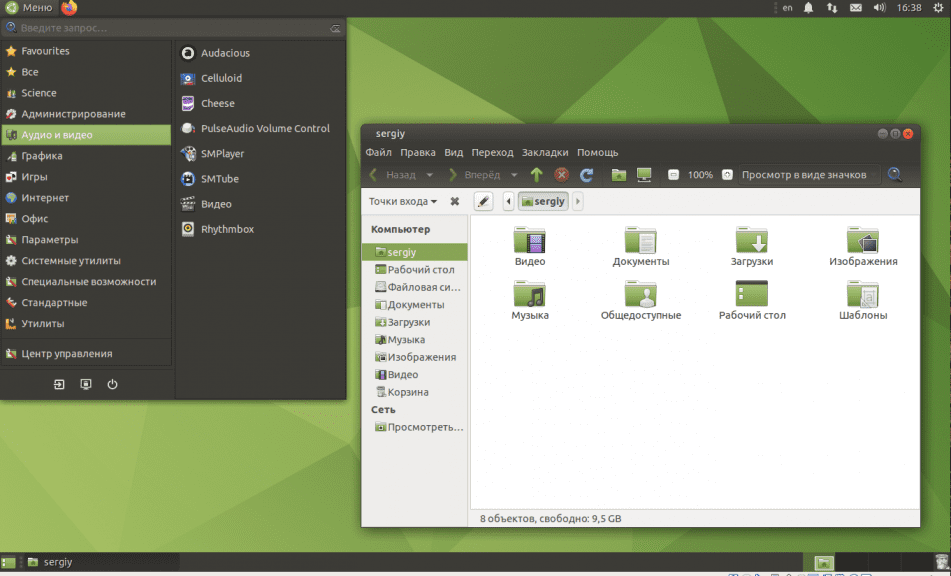
This will open a desktop with a new environment in front of you

Uninstalling Mate
To completely uninstall MATE from your system, run tasksel in the terminal:
$ sudo apt remove mate-* && sudo apt autoremoveIf you no longer need the tasksel utility, you can remove it as well:
$ sudo apt remove taskselMATE is an environment for weak computers and fans of the Gnome 2 style. Installing the environment is not that difficult, following the simple instructions will do the trick