


In this step-by-step instruction we will show you how to install Java 8 and Java 11 on CentOS Stream and switch between versions.
Installing Java 11 using OpenJDK 11 development environment
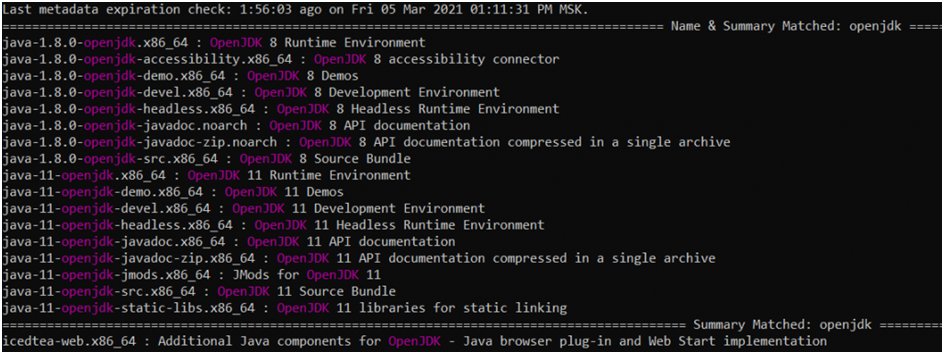
Before you run the installation, you need to see the list of OpenJDK packages available for installation. To do this, we use the dnf. Command:
$ sudo dnf search openjdkAs a result, a list of packages provided by the development environment appears in the terminal.
In it we find the one we need. The packages for installing Java 11 have a corresponding indication in the name (note the words highlighted in purple):
To launch the package manager, use the command:
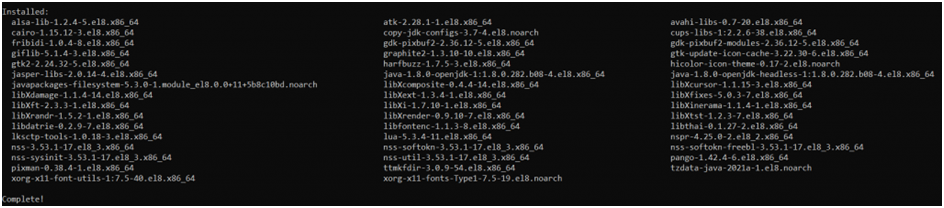
$ sudo dnf install java-11-openjdkStarts the Java 11 installation. The process may take time (depends on the number of packages and other parameters). When the installation is complete, a list of dependencies available for use appears in the terminal.

To check the version of Java that has been rolled up, you need to enter the command into the terminal:
$ java -version
Installing Java 8 using the OpenJDK 8 development environment
The CentOS repository contains Java 8 packages (as with Java 11, the version appears in the name: the user sees java-1.8.0-openjdk).
The step-by-step instructions for installing Java 8 involve the same command as in the case of Java 8. In the terminal, they specify:
$ sudo dnf install java-1.8.0-openjdkNext, the user sees a listing of dependencies to work with.
The version check is done with the command:
$ java -versionHow to configure the selection of the default Java version
When you have Java 8 and Java 11 installed, the question arises as to which one will be used by default. To customize, we use the command:
$ sudo alternatives --config javaThen select the desired option from the list:
java-11-openjdk.x86_64 (/usr/lib/jvm/java-11-openjdk-11.0.10.0.9-4.el8.x86_64/bin/java)java-1.8.0-openjdk.x86_64 (/usr/lib/jvm/java-1.8.0-openjdk-1.8.0.282.b08-4.el8.x86_64/jre/bin/java)
To check the version we use the command:
$ java -version
How to set environment variables
Java applications work with different environment variables to determine the location of a particular version. To set environment variables, you need to create a java.sh file in the /etc/profile.d/ directory. To do this, we use the commands:
- Navigate to the desired directory:
$ cd /etc/profile.d - Create java.sh file
$ sudo vi java.sh
In the java.sh file, you need to insert a line that corresponds to the location of the Java 8 or Java 11 version. The command to see the configs was specified above (it is $ sudo alternatives --config java)
To work use:
export JAVA_HOME=/usr/lib/jvm/java-11-openjdk-11.0.10.0.9-4.el8.x86_64/Option - adding an environment variable to the .bashrc file. The .bashrc file is located in the home directory. To access it use the commands:
$ cd ~
$ sudo echo "JAVA_HOME=/usr/lib/jvm/java-11-openjdk-11.0.10.0.9-4.el8.x86_64/" >> .bashrc
Often you will need to check the information about the variable (where it is set). To do this, you will need to log out, log in, and type in the terminal:
$ echo $JAVA_HOMEA short instruction appears on the screen, from which you can just see the value of the variable you are requesting:

Output
In the step-by-step instruction we have understood how to install Java 8 or Java 11 on CentOS (you can work with others by analogy).