


FFmpeg is a tool for converting files in most known video formats. The FFmpeg program has no graphical interface, but it allows you to perform tasks that other video converters are simply powerless to do. In this article, let's see how to install FFmpeg in Ubuntu 20.04 from the official repositories, as well as using the snap package. And then let's talk about how to use it to convert a small video from one format to another.
Installation
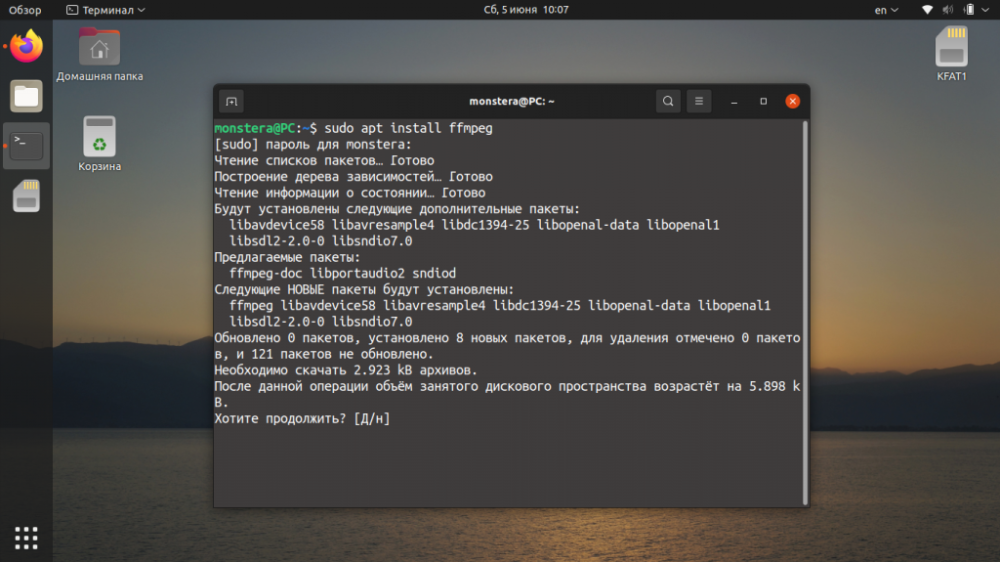
From the official repositories, you can install FFmpeg 3.x with the following command:
$ sudo apt install ffmpegEnter your account password and, after that, confirm the action by pressing the D button on your keyboard.
If you want a newer version, you can install FFmpeg 4.x using the snap package. To do this, run the following command in the terminal:
$ sudo snap install ffmpeg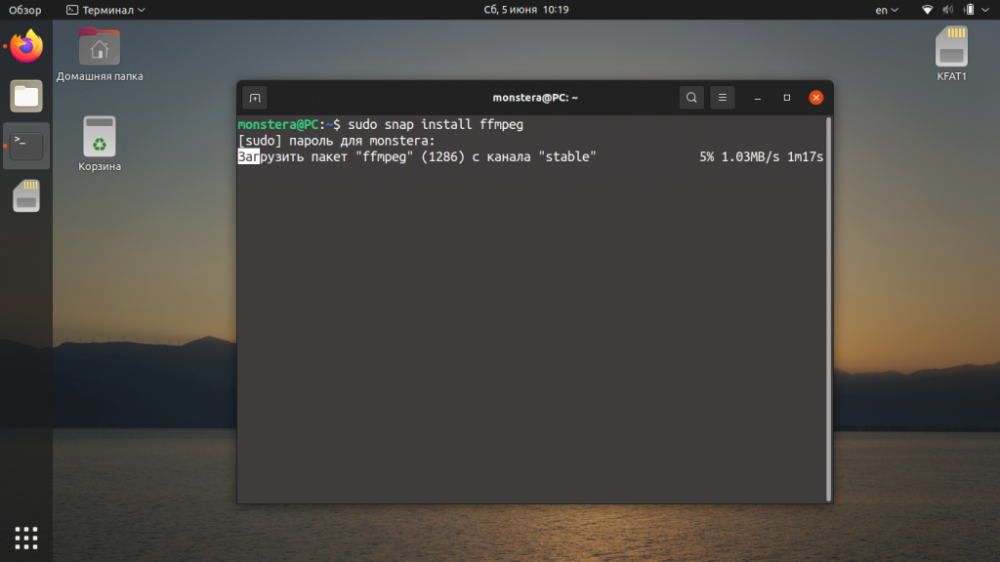
You should wait for the package to download and install. You can view the version of the program using the command:
$ ffmpeg -version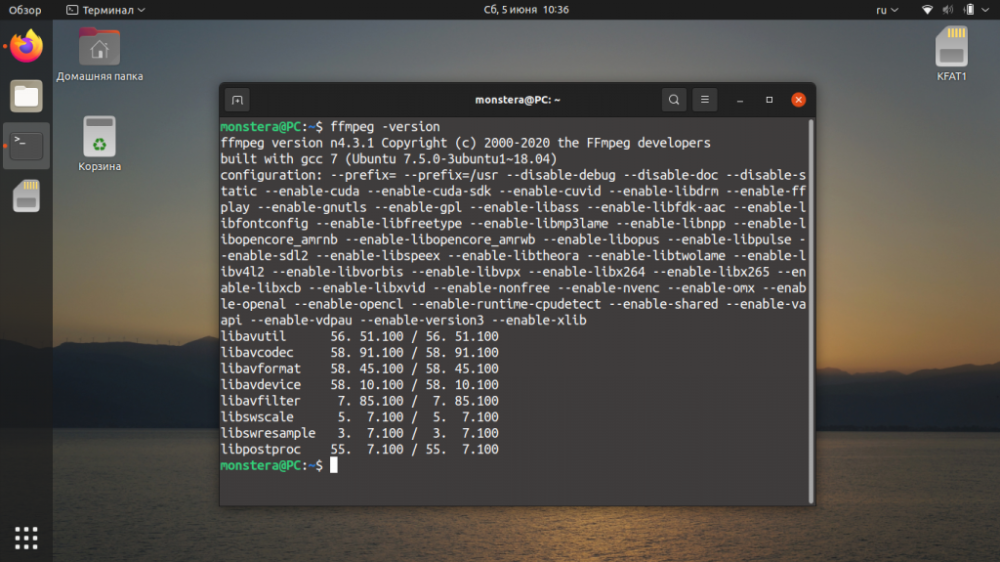
You can find out all the supported formats by entering the following command:
$ ffmpeg -formats
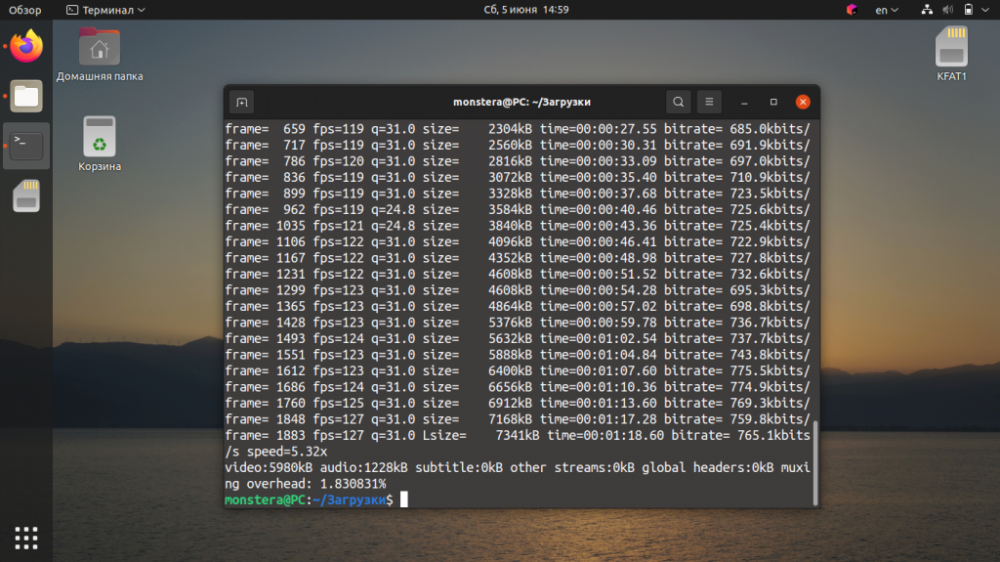
The necessary tools in ffmpeg allow you to transcode videos of any format into almost any known format. Learning how to use the conversion is not difficult.
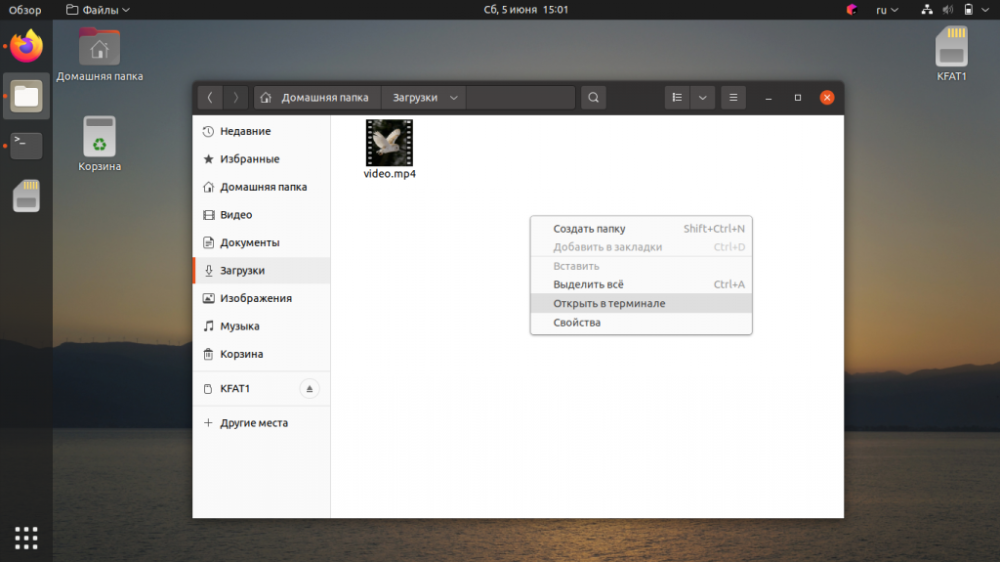
First of all, open the terminal and go to the folder with the video you are going to work with. Or open the desired folder in a file manager, right-click anywhere in the current window and select Open in Terminal.
To transcode mp4 video to avi will be enough to execute the command:
$ ffmpeg -i video.mp4 video.aviWait for the video to be converted. It will take a certain amount of time.
At the end of the operation, another video file will be placed next to the original one in the same directory.
