


In this guide, we’ll walk you through the process of fully migrating your OS and data from one VPS to another using Redo Rescue. Don’t worry — it’s not complicated. If you follow the instructions step by step, you’ll get it done easily.
Step-by-step instructions
1. Open VMmanager, select the VPS you want to transfer, and click on the three-dot menu.
2. In the dropdown, choose Attach ISO image.
3. Set the following parameters:
— Boot method: Image URL
— Image URL: http://intrepo.stark-industries.solutions/redorescue-4.0.0.iso
— OS Type: Linux
4. Also, make sure to check the box for Boot the virtual machine from the ISO.
5. Click Upload image.
6. Wait for the upload to complete, then click VNC to start a VNC session.
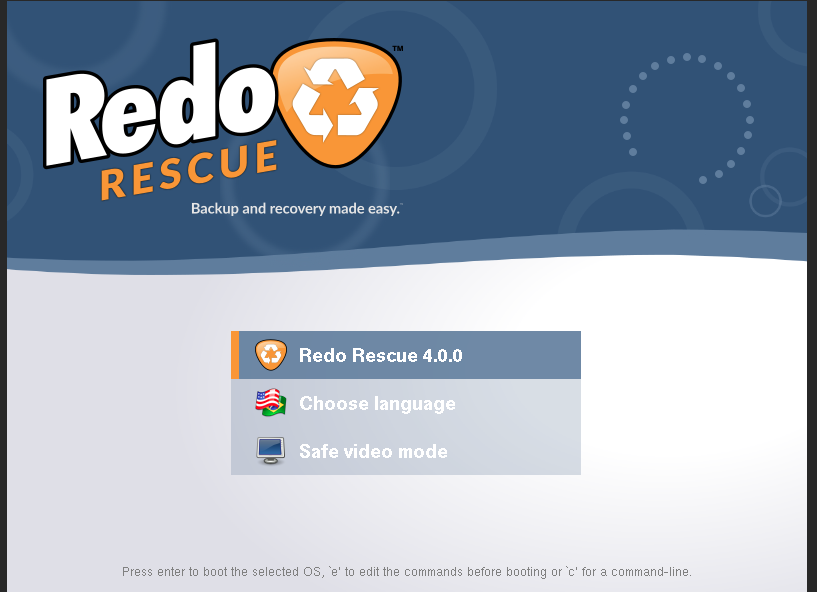
7. Select Redo Rescue 4.0.0 from the boot menu.
8. The utility will begin to load. If you see a black square or blank screen during the process, just press Enter — it’s normal.
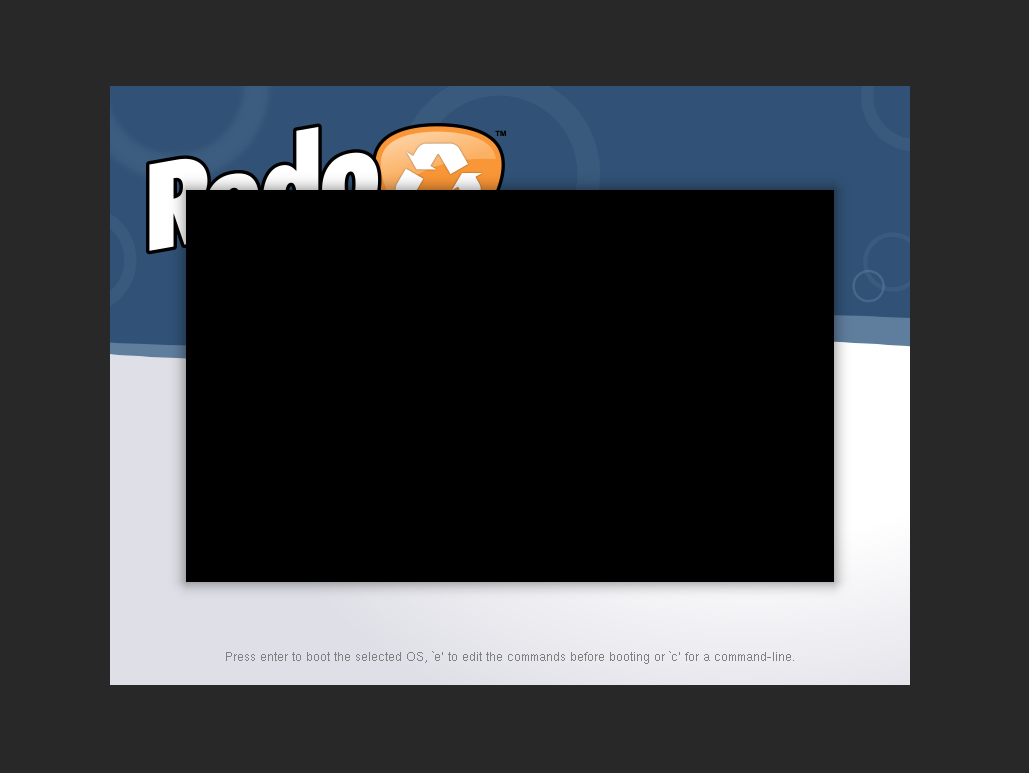
You may also see the bootloader run a few times — this is expected. It’s just preparing the environment.
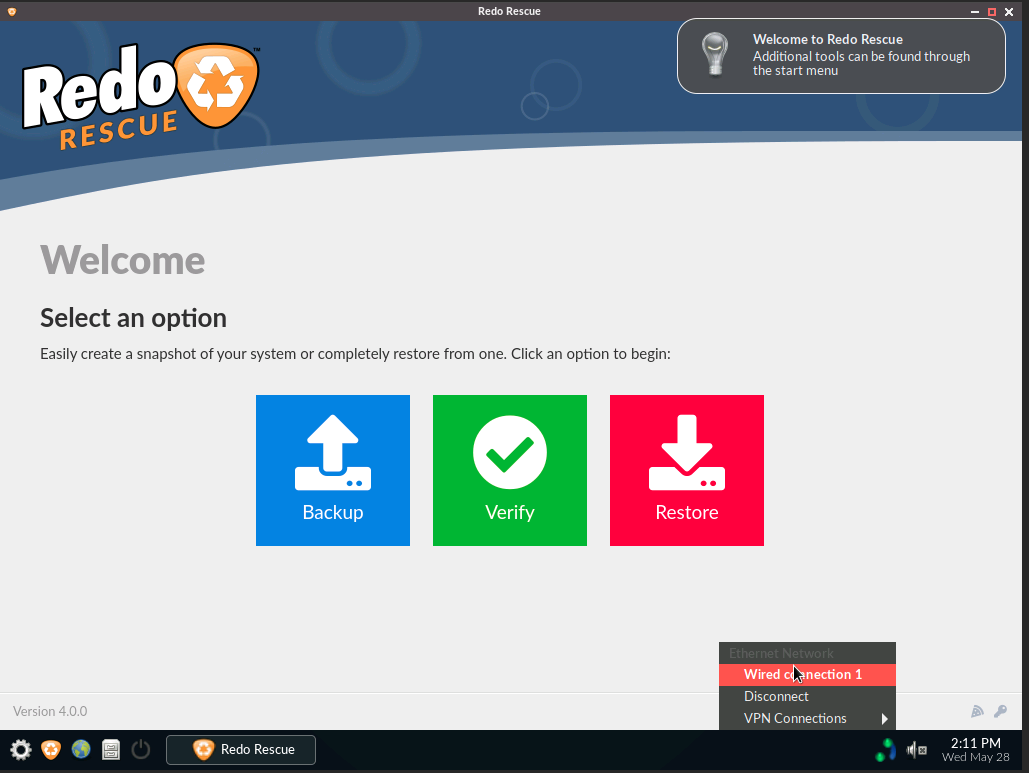
Eventually, you should see the graphical interface.
9. Now you need to configure the network. Click the gear icon in the bottom-left corner, then go to Applications.
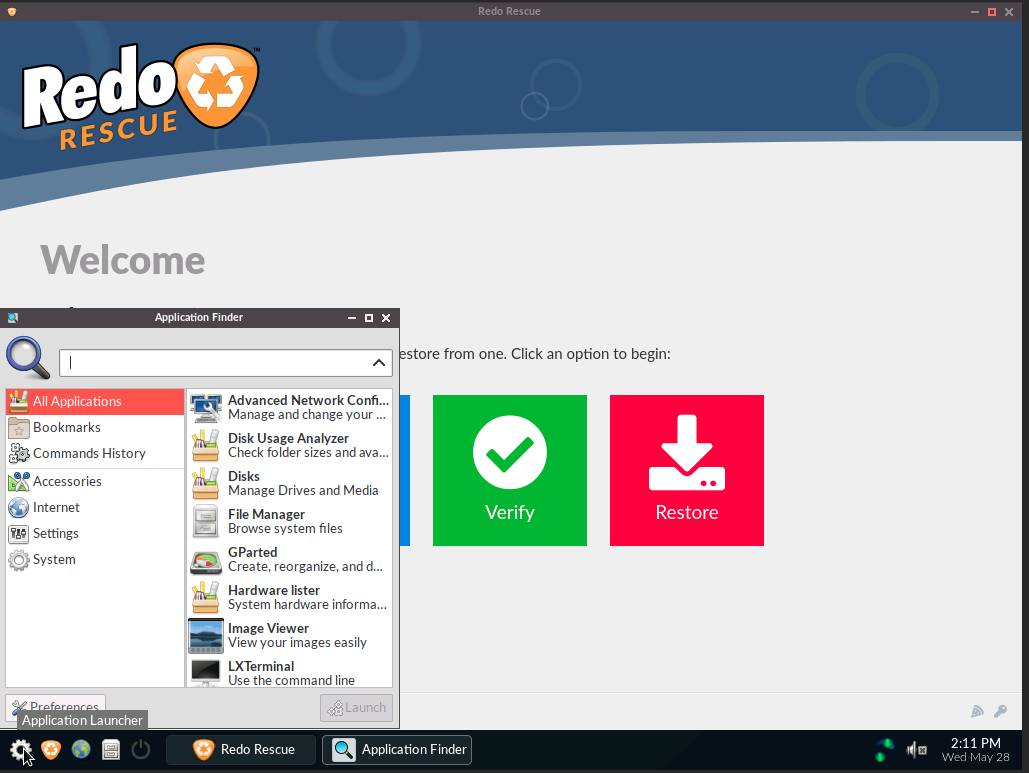
10. Double-click Advanced Network Configuration.
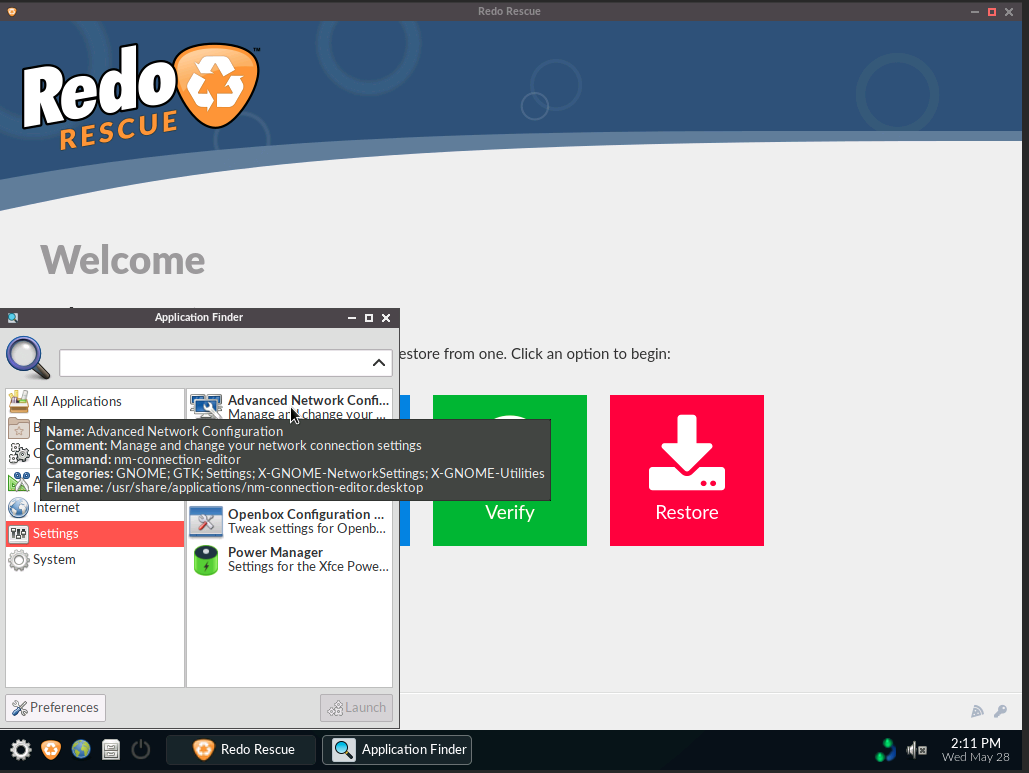
11. Select Wired connection 1.

12. Go to the IPv4 Settings tab.

13. Enter the IP configuration for the VPS where Redo Rescue is running.
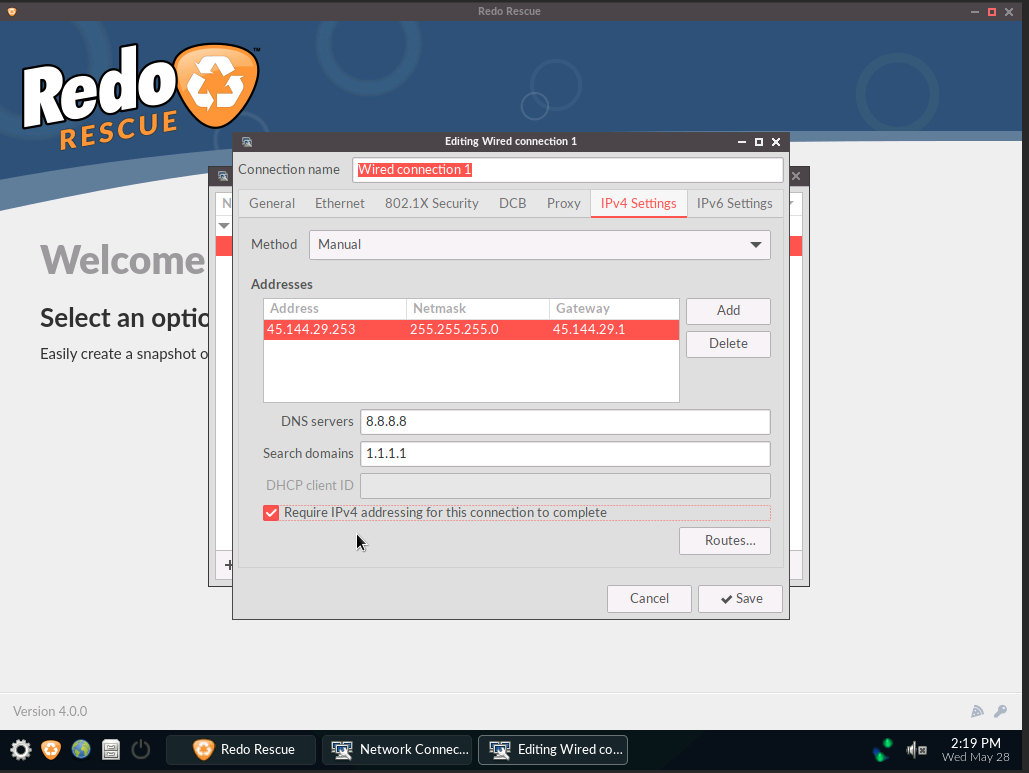
Use the following settings:
— Method: Manual
— Address: (the IPv4 address of the current VPS)
— Netmask: 255.255.255.0 (or 255.255.255.255 for Albania and Liechtenstein)
— Gateway: Your VPS IP with the last digit replaced by 1 (or 10.0.0.1 for Albania/Liechtenstein)
— DNS servers: 8.8.8.8
— Search domains: 1.1.1.1
Check Require IPv4 addressing for this connection to complete and click Save.
14. Click the network icon in the bottom-right corner.
15. Connect to Wired connection 1.
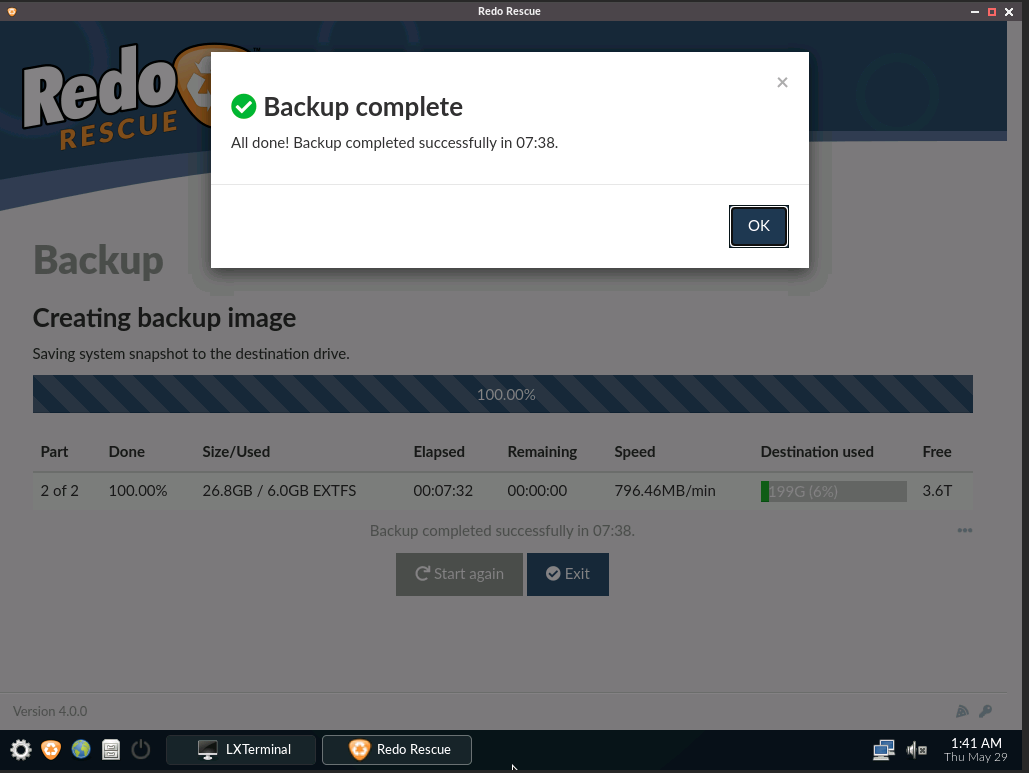
16. Once the server is online, click the blue Backup button in the center of the screen.
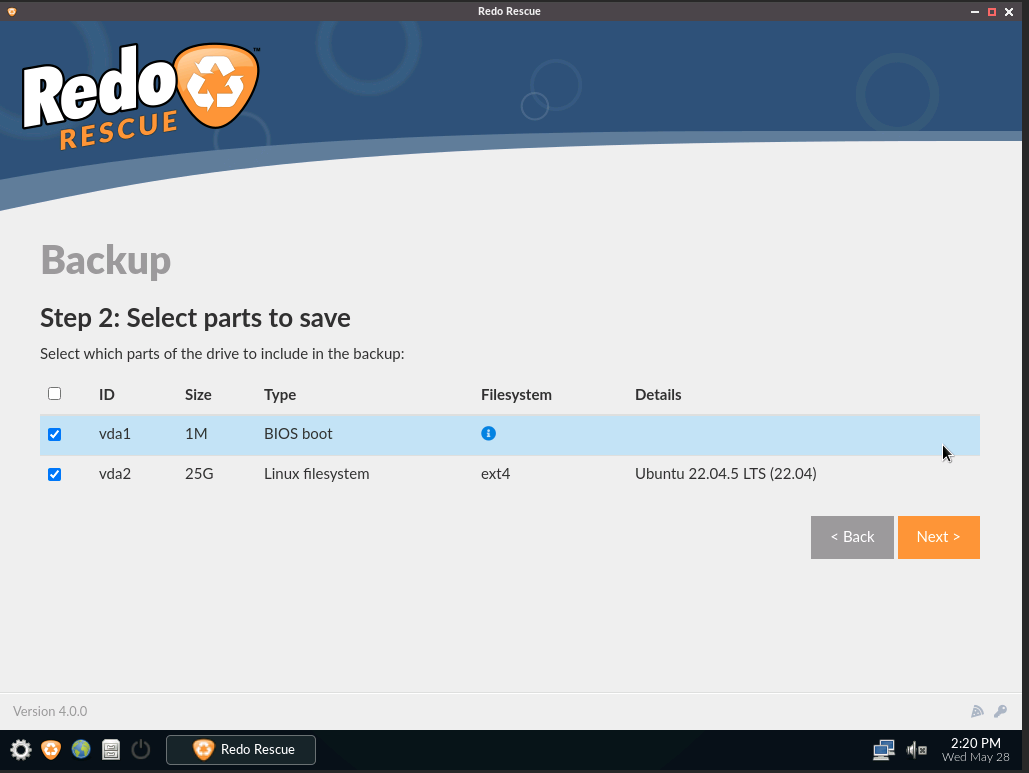
17. Select the disk to back up — typically named VDA. It should show the installed OS in the description.
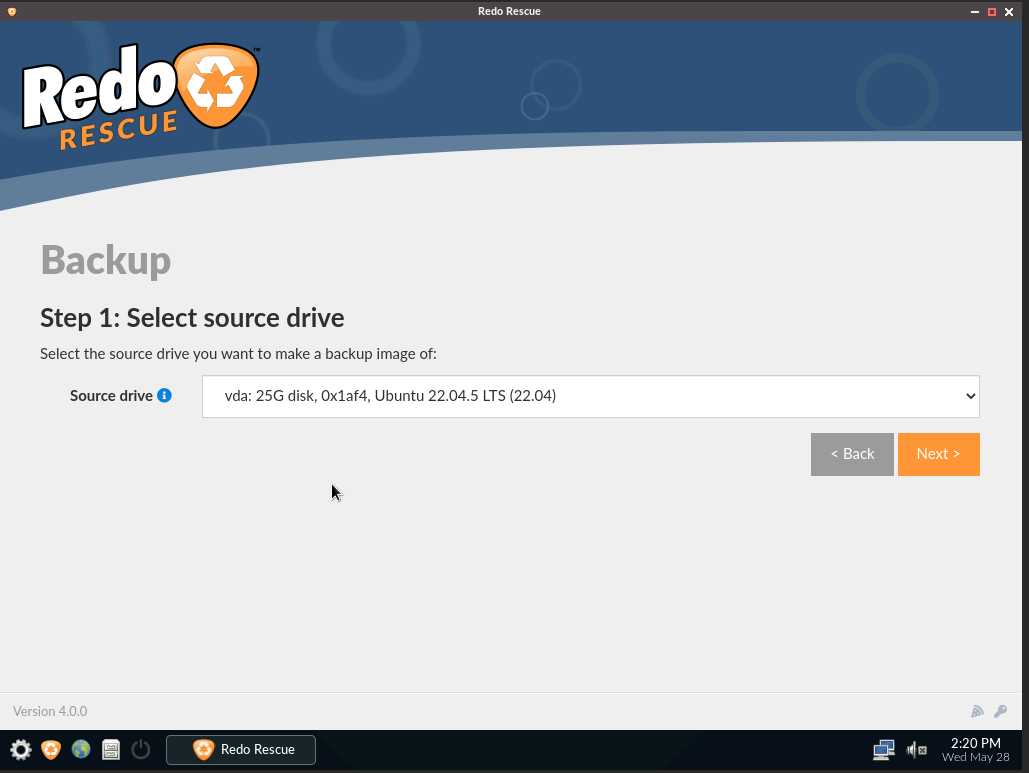
18. Check all disk partitions to back up the system fully.
Important: You’ll now be asked to create a login — use only English letters and numbers. The password must be identical to the login but end with pass.
Example:
— Login: fileroller4ever
— Password: fileroller4everpass
Don’t use special characters. Be sure to write down your login and password, as you’ll need them to restore the disk later.
19. Switch to the Network drive tab and fill in the following details:
— Location: \\185.234.65.184\clients
— Domain: WORKGROUP
— Username: (the login you just created)
— Password: (the password you just created)
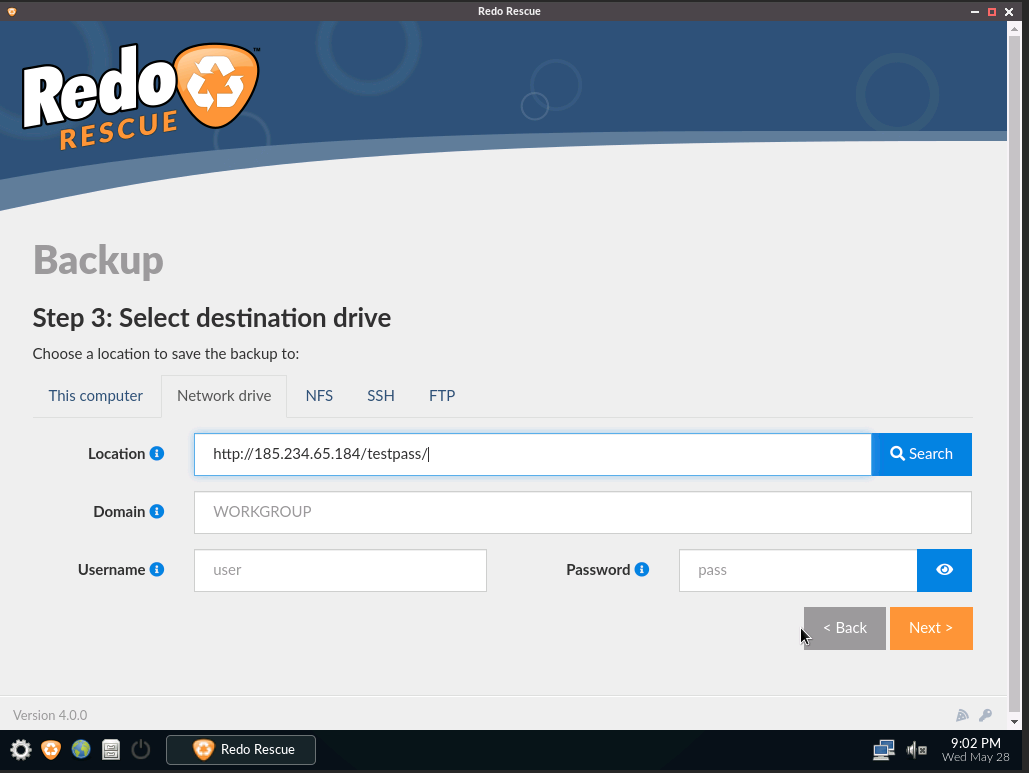
20. Click Next and wait for the disk backup to complete.
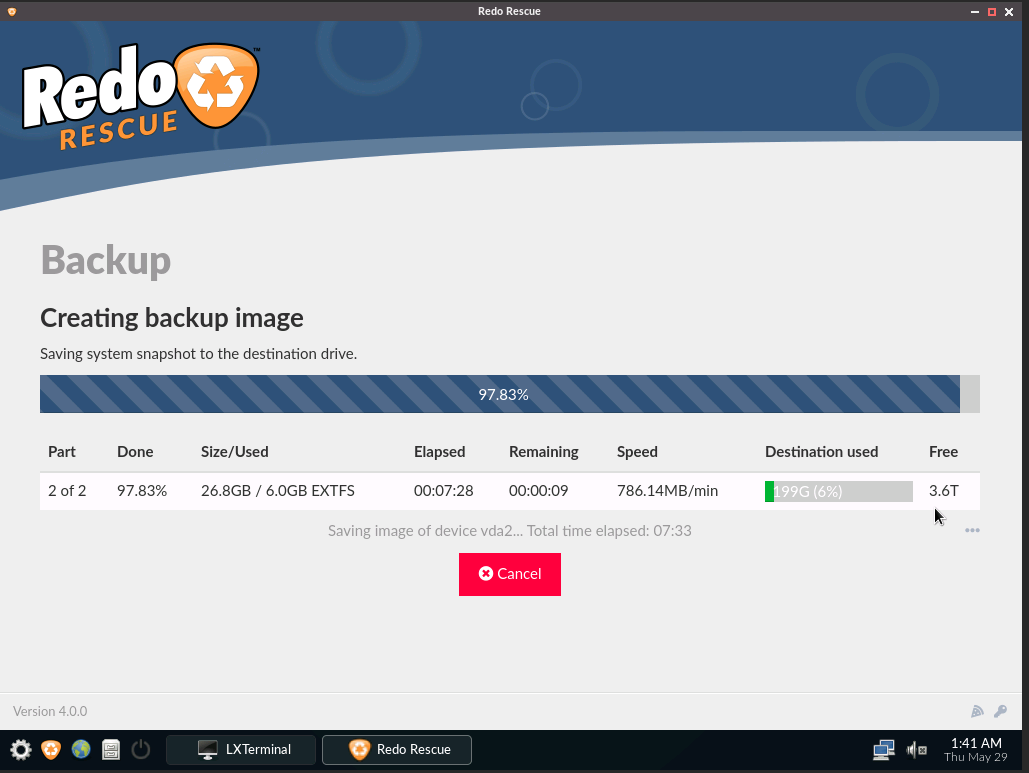
Done! Your disk is now backed up.
21. In your control panel, unmount the Redo Rescue image. The VPS will then reboot into its original OS.
22. Repeat the ISO attachment steps, but this time on the new VPS. Use the new server’s IP and gateway values, and when prompted, choose Restore instead of Backup.
23. As before, select Network drive and enter:
— Location: \\185.234.65.184\clients
— Domain: WORKGROUP
— Username: (from step 18)
— Password: (from step 18)
24. In the next window, select the backup file, choose the disk to restore to (typically VDA), and wait for the process to complete.
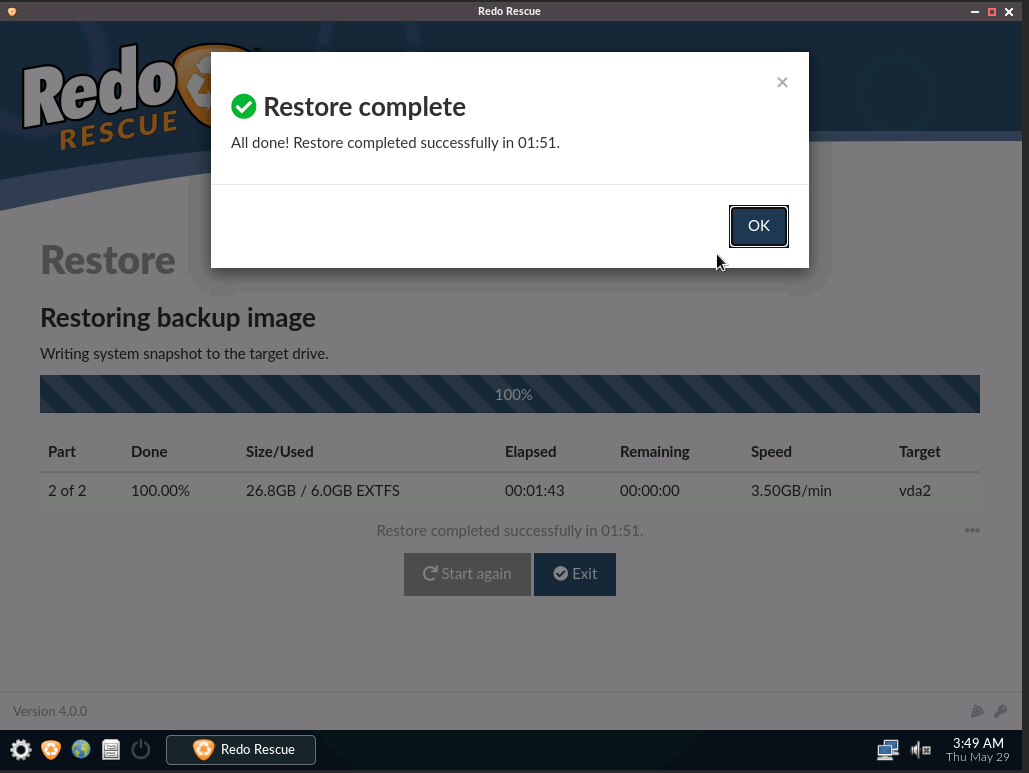
25. Exit Redo Rescue and disconnect the ISO.
26. Reboot the virtual machine from the main disk.
27. Connect via VNC and configure the network settings: check and, if needed, update the IP address, gateway, and MAC address.