


Odoo is a multifunctional platform for managing your business. CRM, sales, inventory, projects, accounting and dozens of other modules are all available in a single system. It’s chosen by companies that want to see all processes in one interface and gradually expand functionality as they grow. We’ve prepared a script that deploys a ready-to-use environment on a virtual server in just a few minutes, even if you’ve never configured an ERP system before.
Step 1. Log in to your account
Go to the THE.Hosting website and sign in to your client area. If this is your first time with us, create an account — registration only takes a couple of minutes.
Step 2. Choose and configure your VPS
If you don’t yet have a virtual server, now is the time to order one. First, choose a location — it’s best to select a data center that’s closer to your users or office. This will have a positive effect on response time.
Next, pick a plan. For a test environment or pilot project, a basic configuration is usually enough. If you plan to connect several departments and actively work with your customer base and reports, it’s better to choose a VPS with extra RAM and CPU resources.
After selecting the parameters, click “Order” and wait for the server to appear in the management section.
Step 3. Start the installation
When the VPS is ready:
- Go to the “Virtual Servers” section.
-
Find the newly created server in the list.
-
Open the menu (three-dot icon).
-
Select “Virtual Machines”.
-
Click “Run script”.
A window will open where you can choose the installation scenario you need.
Step 4. Install Odoo
In the search field, start typing “Odoo”. From the dropdown list, select the Odoo installation script and confirm the start.
The script will prepare the environment, install all required components and deploy the system itself. In the “Status” section, you can monitor the progress — the process usually takes just a few minutes.
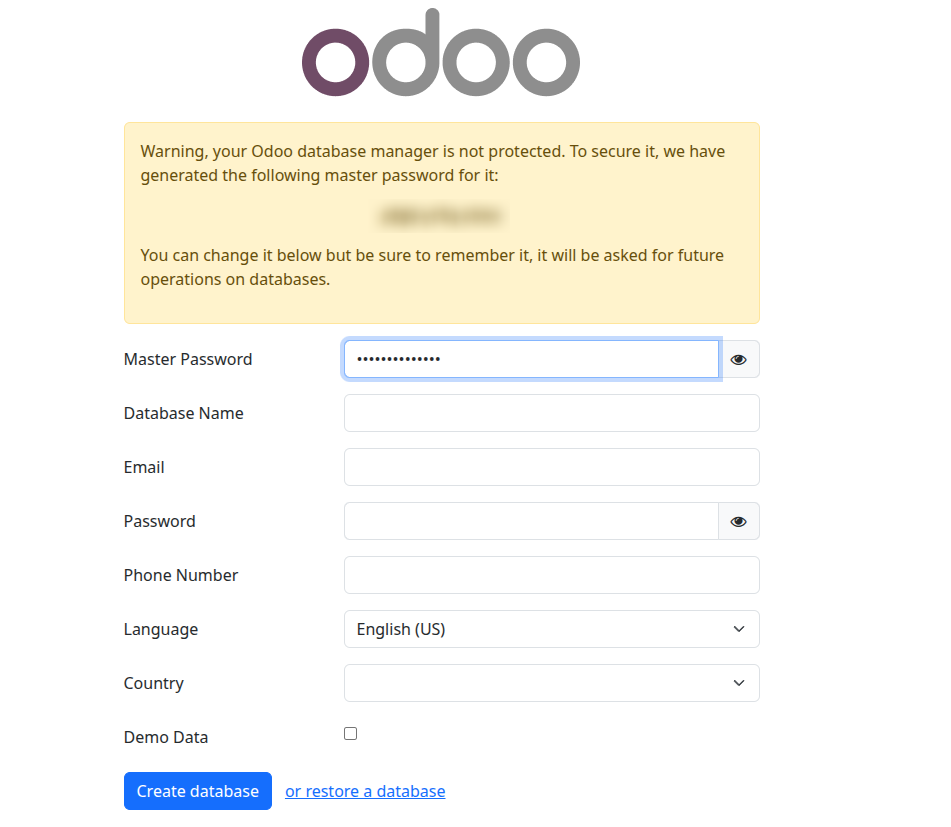
Step 5. Start working in Odoo
After the installation is complete, you will receive an email with the credentials for logging in to the Odoo web interface.
Open the URL from the email in your browser, log in and go through the initial setup:
create the main database, specify your company details, add users and enable the modules you need — from CRM and sales to inventory management and project tracking.
From this moment, the system is ready for work: employees can log in to their personal accounts, record deals, issue documents and track tasks.
Everything is ready — you can grow your business in a single system
In the end, you get a full-featured Odoo instance on your own VPS: no limits imposed by third-party service plans, no unwanted modules, and full control over your data. If necessary, you can change the server configuration, add new applications and integrations, and test different scenarios without interrupting the main environment.
If you have any questions or run into difficulties at any stage, THE.Hosting support will help you sort things out. In most cases, the installation goes smoothly — and your ERP system can go into full production as early as today.