


If you’re planning to reinstall Windows or set it up on a new computer, the first thing you’ll need is a bootable USB drive. Grab a flash drive with at least 8 GB of storage, back up anything important on it (because it’ll be wiped), and pick the method that works best for you. Here are five of the most popular and user-friendly options.
Rufus — quick, easy, and hassle-free
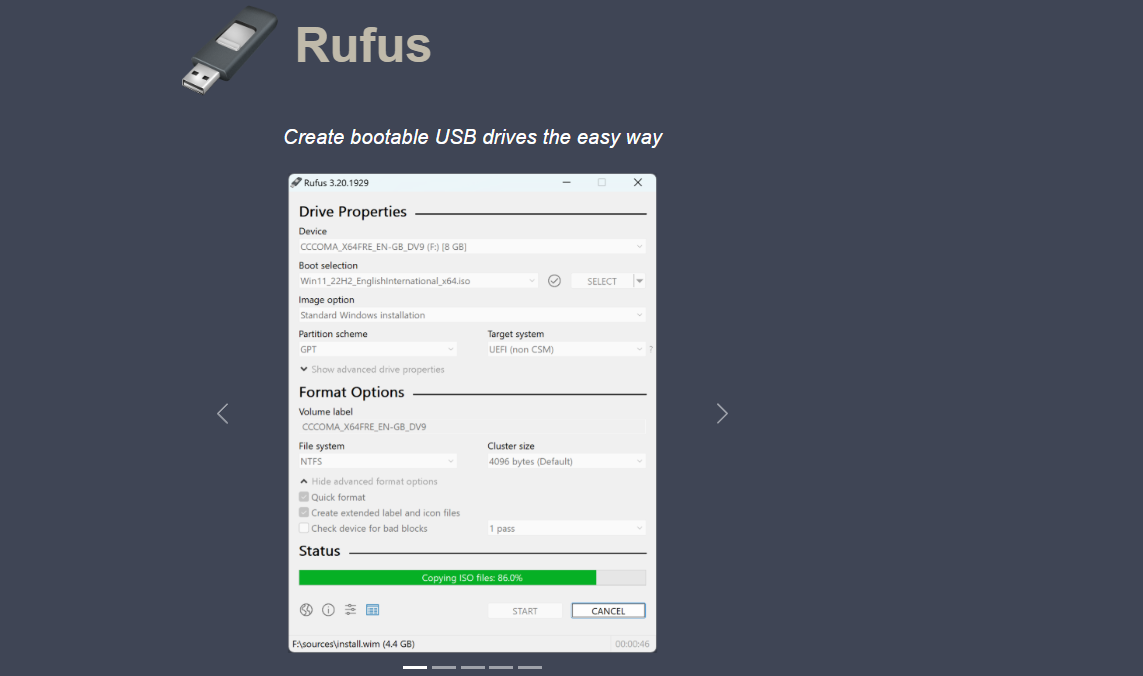
If you want to get it done fast with minimal clicks, go with Rufus. It’s a free, lightweight tool that doesn’t even require installation.
1. Download Rufus.
2. Plug in your USB drive and open the program.
3. Choose your USB stick and the Windows ISO file.
4. Click Start, and in a few minutes, you’ll have a bootable USB ready to go.
Rufus works with both UEFI and BIOS, supports GPT and MBR, and runs even on older, low-powered machines.
Media Creation Tool — the official Microsoft way
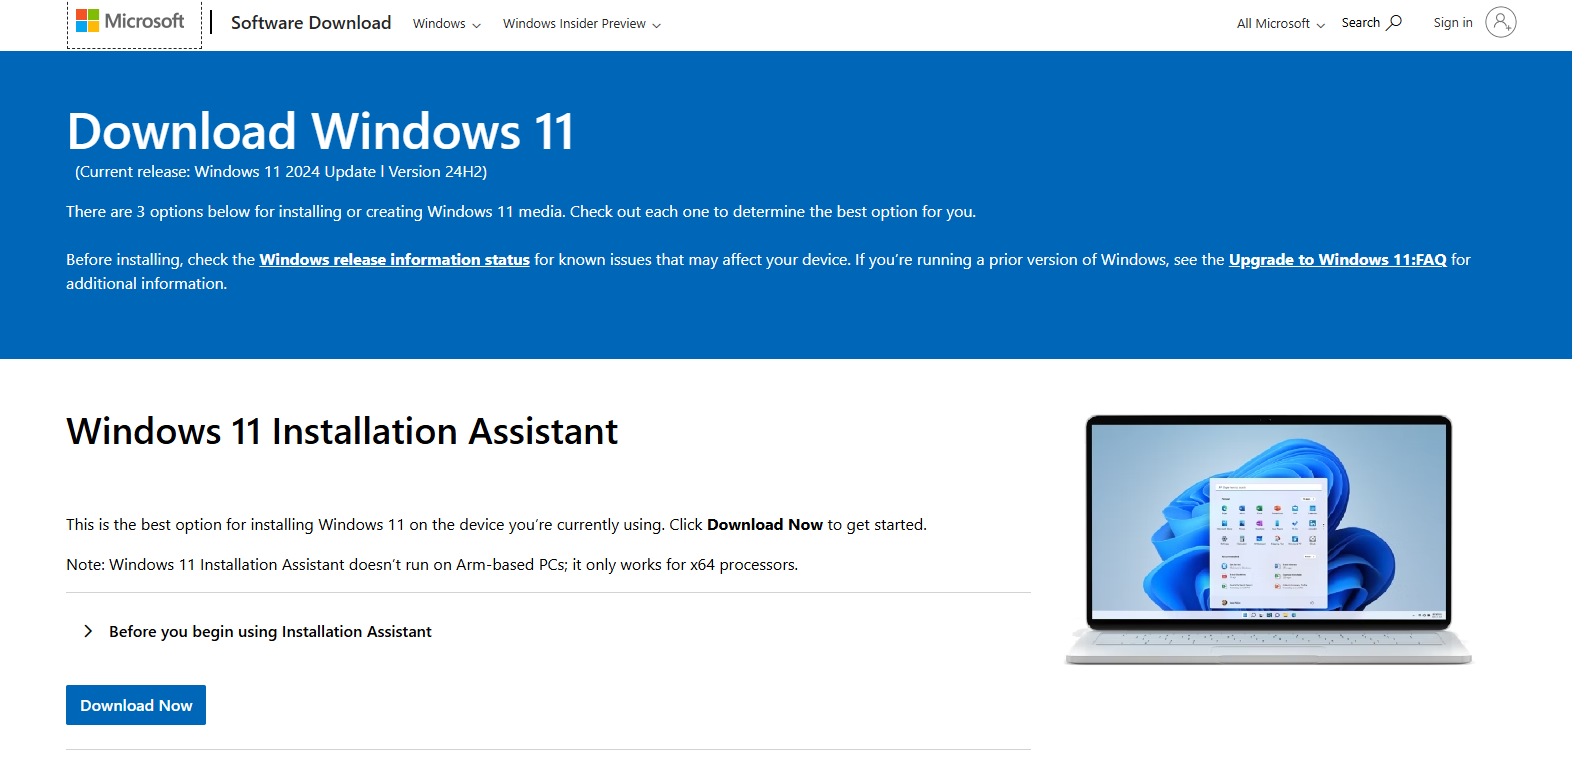
If you want a licensed copy of Windows straight from Microsoft, use their Media Creation Tool. It automatically downloads the latest Windows version and creates a bootable drive.
1. Go to the Microsoft website and download the tool.
2. Launch it and choose Create installation media.
3. Set the system options (or leave the defaults).
4. Pick your USB drive, confirm — and wait for the process to finish.
This method is reliable but only works on Windows and requires a stable internet connection.
Etcher — not just for Windows
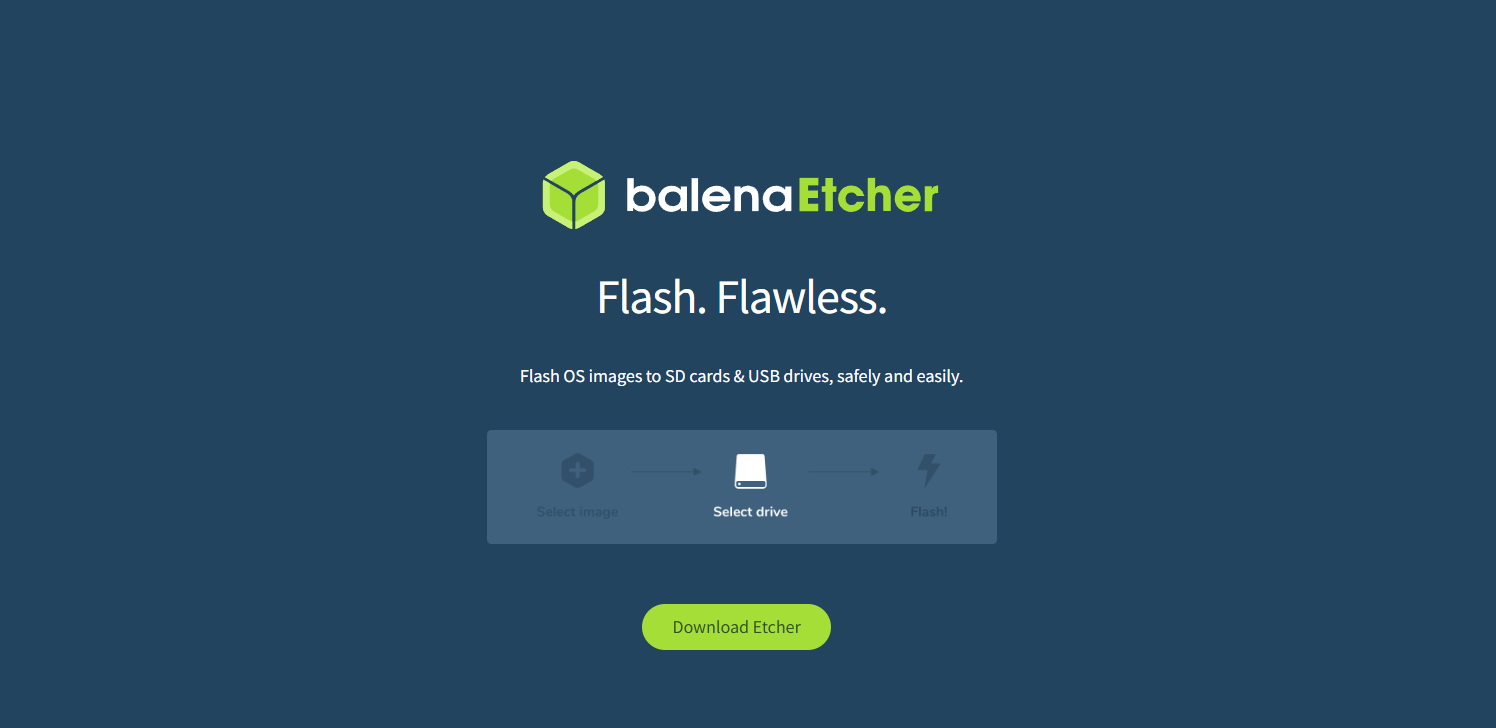
Using a Mac or Linux machine but need to make a Windows USB? Etcher is your best friend. It works on all major platforms and is extremely simple to use.
1. Download Etcher for your operating system and open it.
2. Select your Windows ISO file and your USB stick, then click Flash.
3. Wait for it to finish — Etcher handles everything else.
No complex settings, no fuss — perfect for beginners.
UltraISO — for full manual control
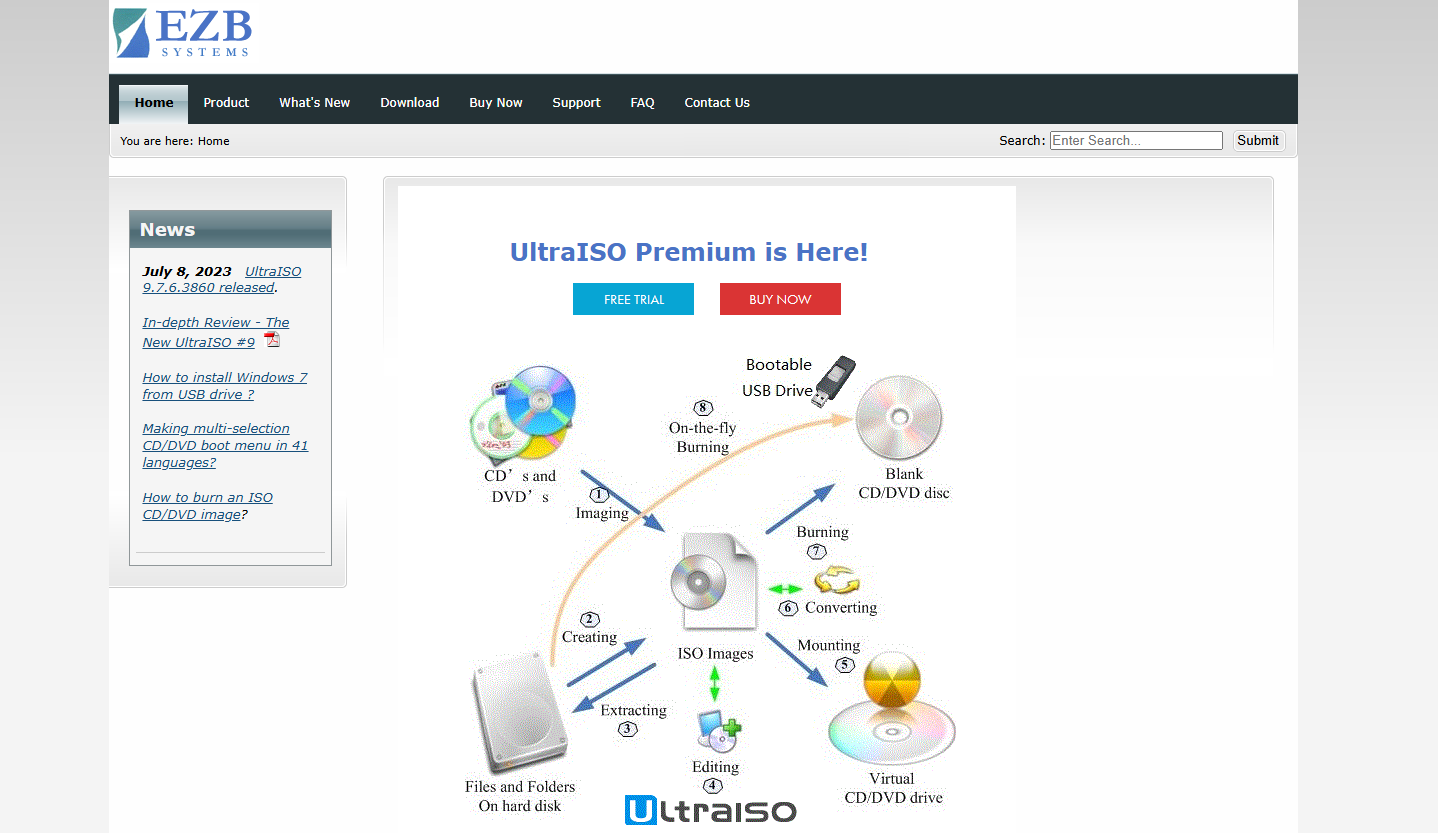
Prefer to tweak every step yourself? Try UltraISO. It’s a paid app, but the trial version is more than enough to create a bootable USB.
1. Download and install UltraISO, then choose the trial mode.
2. Open your ISO file via File → Open.
3. Go to Bootable → Write Disk Image.
4. Select your USB drive, format it (FAT32 is recommended), and click Write.
This method works great for both old BIOS-based PCs and newer UEFI systems.
Boot Camp — if all you have is a Mac
Need to install Windows but only have access to a Mac? You can use Boot Camp Assistant to create a bootable USB.
1. Open Boot Camp Assistant on your Mac and click Continue.
2. Uncheck Install Windows, but leave Create a Windows installation disk selected.
3. Choose your ISO file and USB drive.
4. Click Continue and wait while macOS prepares the drive.
The resulting USB can then be used to install Windows on any compatible PC.
Each of these methods gets the job done — just choose the one that fits your setup. Whether you're on Windows, macOS, or Linux, there’s a way to create a bootable USB without breaking a sweat.