If you have enough images on your computer and they are taking up too much space, it is definitely possible to reduce their size even without losing quality. This can also be very useful when uploading images to cloud storage.
JPEG and PNG are the most common image formats on the internet, so you will be able to optimize almost all images
Optimizing JPEG images
There is a utility called jpegoptim, a command line tool that can be used to compress JPEG, JPG and JFIF images without loss of quality. The utility optimizes images based on Huffman tables. JPEG algorithm uses compression as it is, but this compression is achieved using quality loss, and here we can optimize the size without changing the image.
JPEGOPTIM INSTALLATION
To install the utility in Ubuntu, Debian and based distributions, run:
$ sudo apt install jpegoptimIn Fedora, Red Hat, CentOS and other distributions based on them things are a bit more complicated, you will have to add the epel-release repository first. You can do this with a command like this:
$ sudo yum install epel-releaseOr:
$ sudo dnf install epel-releaseThen you can install jpegoptim from the repository you just added:
$ sudo yum install jpegoptimOr:
$ sudo dnf install jpegoptimHOW TO USE JPEGOPTIM
Let's take a look at how to use jpegoptim. Using the linux image compression utility is very easy. All you need to do is execute the program and pass it a filename. This is the syntax:
$ jpegoptim optiona file_name.jpegLet's look at the utility options:
-d- specify the folder in which to save the finished images;-f- forced optimization;-m- quality indicator, cancel lossless compression and set the quality level from 0 to 100, the more the better;-n- do not perform real optimization, but only show the result;-S- set the size of the finished image, can be specified in percent or kilobytes;-o- replace the source file;-p- save timestamps;-P- save file rights.
Let's see how to optimize images in linux with jpegoptim. First, let's look at the original size:
$ du image.jpg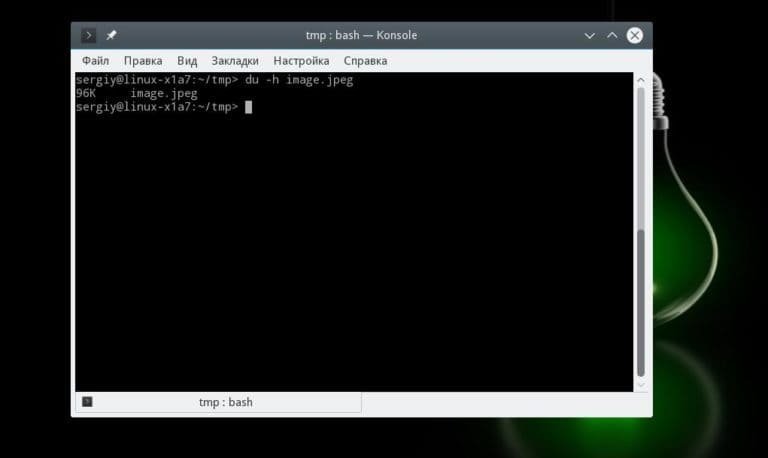
Next we perform the simplest optimization:
$ jpegoptim image.jpg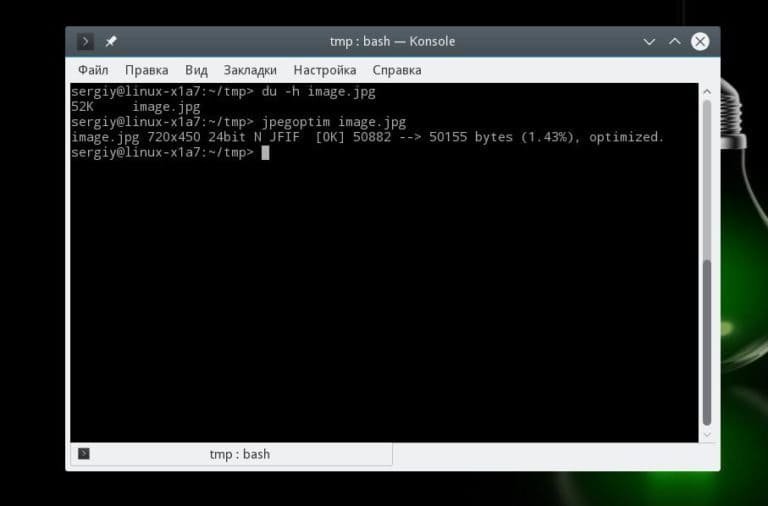
Then we look at the size again:
$ du image.jpg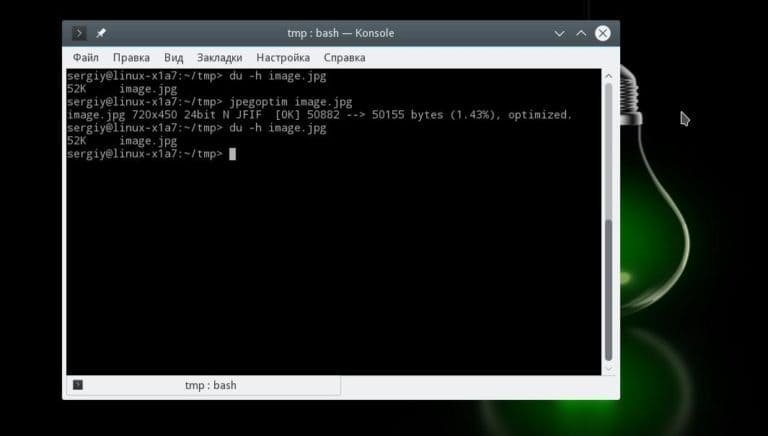
As you can see, the jpg compression worked, and opening the image in any graphics program there will be no difference or degradation in quality, the source and the finished image will be identical. On the left is the optimized one, on the right is the original:

If you want, you can compress the image to a certain size, but then it will not be lossless:
$ jpegoptim --size=250k image.jpegThe image will be compressed, but the quality will deteriorate noticeably. If there are a lot of images, you can very simply use batch compression, to do this just go to the folder with the images and then run the compression command by specifying a mask instead of a file, for example:
$ cd images/

jpegoptim *.jpg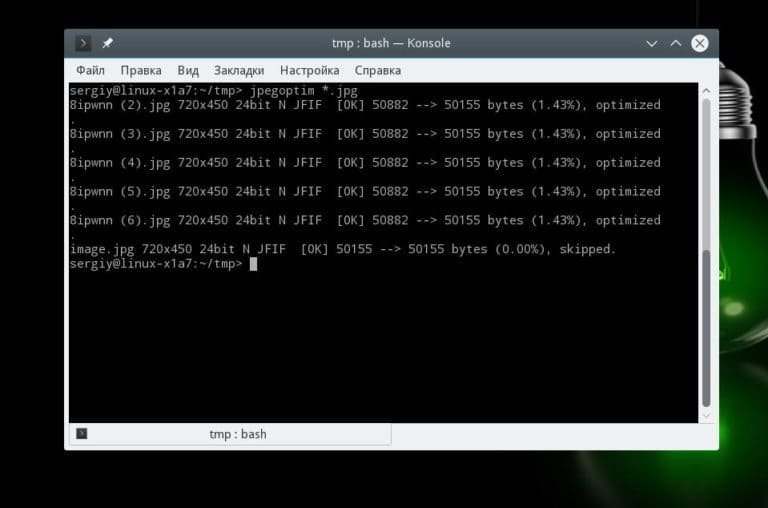
You can also list more than one image at a time:
$ jpegoptim image1.jpg image2.jpgTo optimize all the images in a particular folder you can use the xargs command along with find. For example, compress all images in the current folder with move to the ~/compressed folder:
$ find . -name "*.jpg" | xargs jpegoptim -d ~/compressed -pThat's it, now you know how to compress jpg images in Linux. Next, we will talk about how to compress png. This is also very simple.
OPTIMIZING PNG IMAGES IN LINUX
PNG or Portable Network Graphics is a bitmap image format designed to replace the imperfect GIF format in terms of compression and color reproduction. The size of PNG images can vary greatly depending on several factors such as color depth, interlacing, before compression filter, compression algorithm used, etc.
OptiPNG is a console utility that allows you to optimize PNG images. Namely compress size, recover metadata, check integrity, etc. With OptiPNG you can compress files without loss of quality, just like we did with the Jpeg format.
INSTALL OPTIPNG
If you are using Ubuntu, the program is in the official repositories and you can install it very easily. To install optipng in Debian, Ubuntu and derivatives, type:
$ sudo apt install optipngIn Red Hat, CentOS or Fedora it's done exactly the same way, just a different package manager:
$ sudo yum install optipngOr:
$ sudo dnf install optipngIMAGE COMPRESSION WITH OPTIPNG
The syntax of the utility is very simple. You can use it in exactly the same way as jpegoptim:
$ optipng ioptions file_name.pngLet's take a look at the utility's options:
-backup- save copies of modified files;-dir- folder to write files to;-force- force write outgoing file;-out- writeoutgoingfile to the specified file;-simulate- do not perform any actions, but only show the result;-o- set compression level from 0 to 7.
Now let's try to optimize png in linux. First let's see the file size:
$ df -h image.png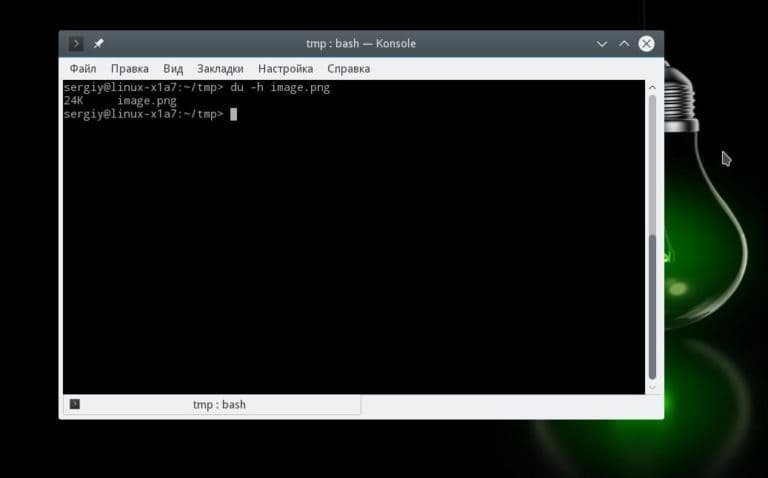
To perform image compression use the following command:
$ optipng image.pngThen again look at the size, in this example you can not see the differences because the image is very small, but at a larger size they will be significant:
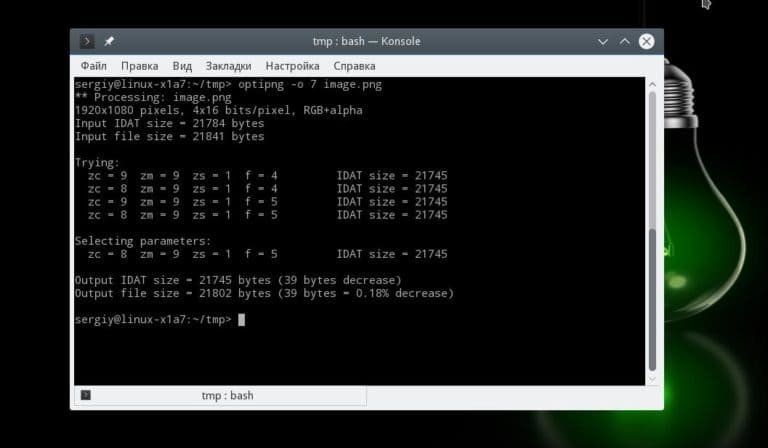
Here too png linux image compression lossless, which means that you will get exactly the same image only smaller. You can also specify the level of compression, it does not affect the quality of the picture, but it directly affects the time of the program. The value can be from 0 to 7 and the more, the stronger the compression and the longer the processing will be:
$ optipng -o 7 impge.png
For batch processing of images you can use the same principle as in the work with jpeg:
$ cd images/

$ optipng *.png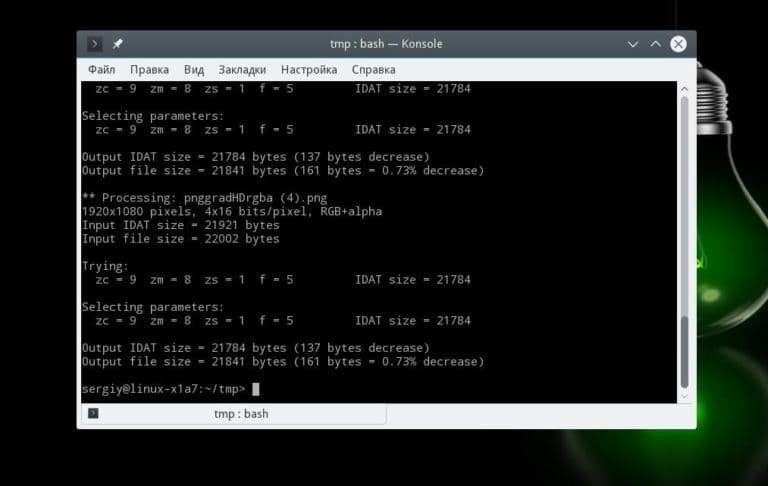
Now you know how linux image optimization is performed.