


Domain transfer means moving your domain from one registrar to another. This guide shows how to transfer a domain from Namecheap to THE.Hosting.
What you need before starting:
— Access to your THE.Hosting account: client.the.hosting
— Access to your current registrar's account (Namecheap in this example)
— The domain must have been registered more than 60 days ago
Note: Domain transfer always includes a 1-year renewal at the new registrar — this is a standard ICANN requirement. Payment is made when you submit the request.
Part 1. Initiating the Transfer in THE.Hosting Panel
Step 1. Log in to your account at client.the.hosting.
In the left menu, go to Products/Services → Domains.
Step 2. In the top toolbar, click the Transfer button.
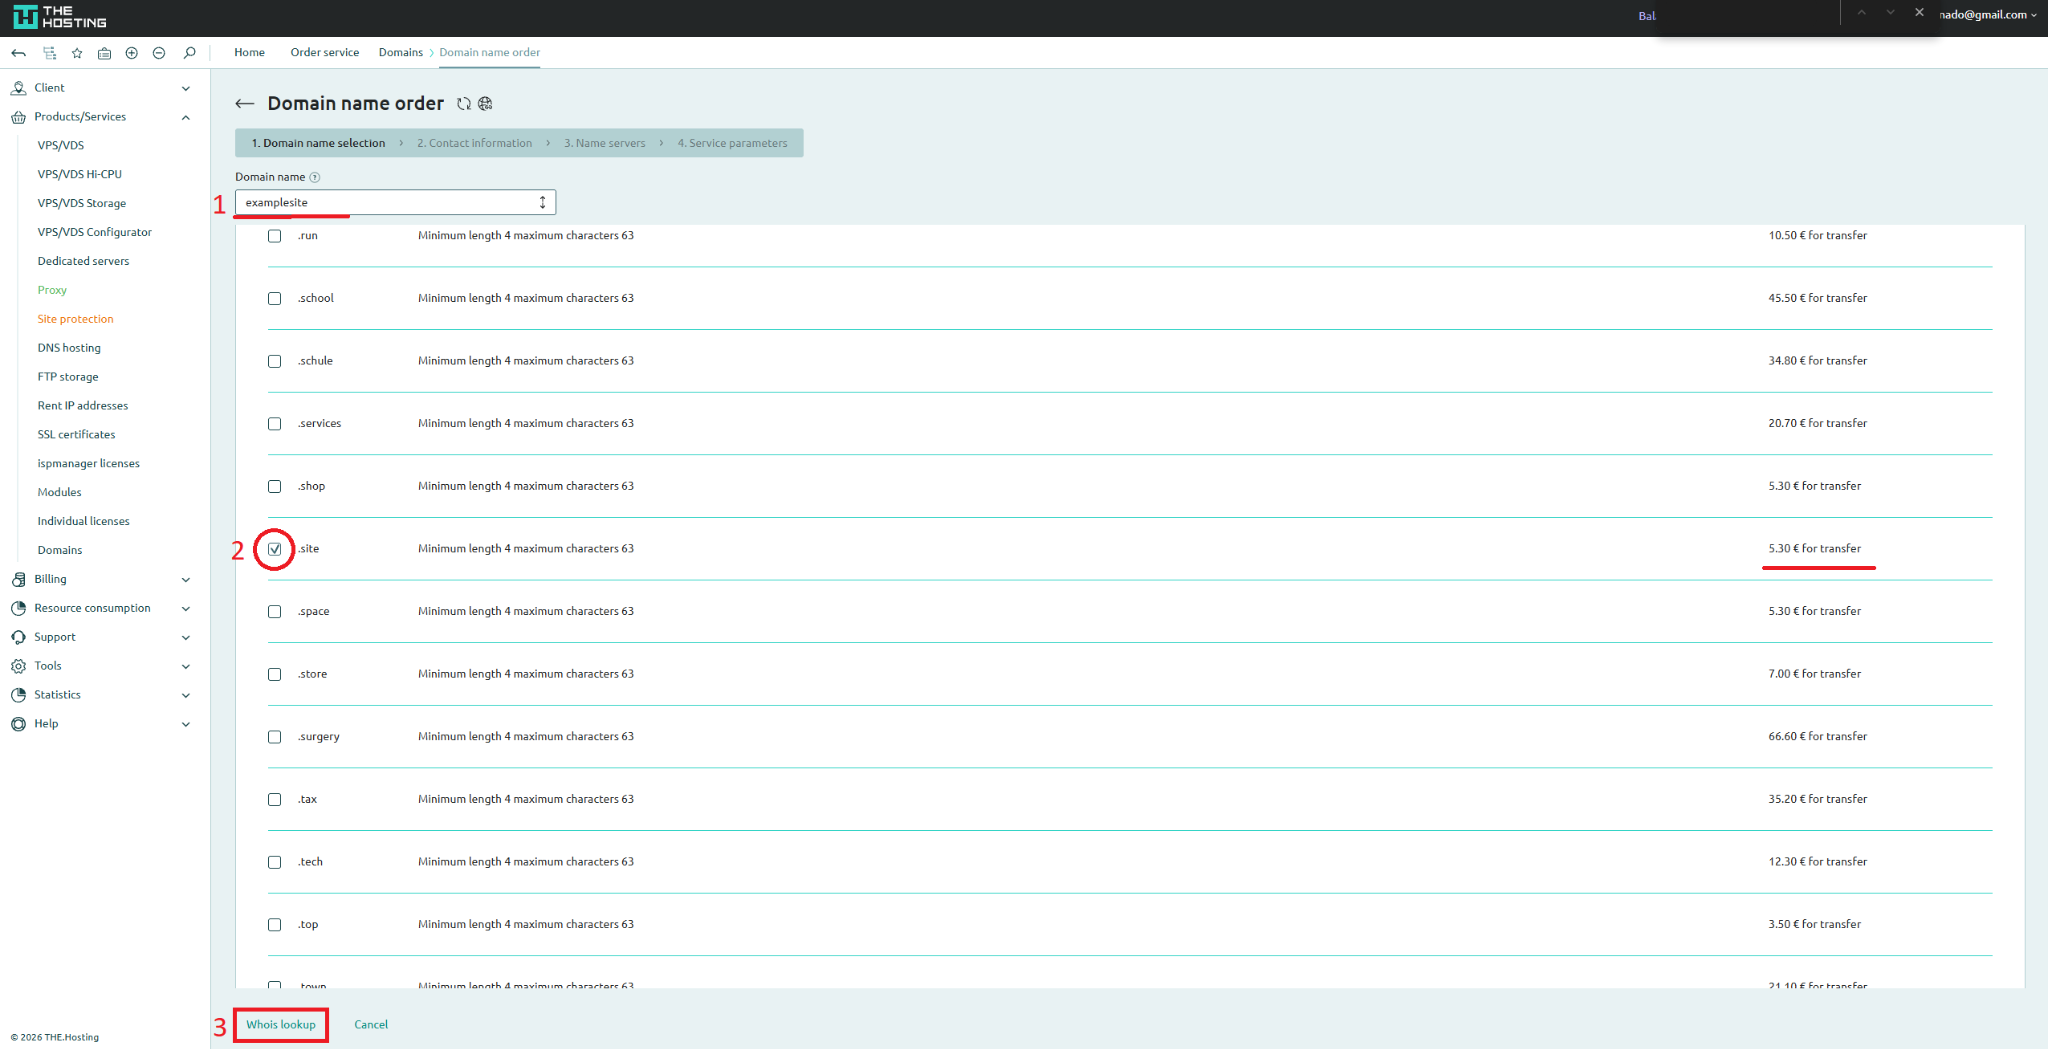
Step 3. In the Domain name field, enter your domain name without the extension (e.g., examplesite). In the list below, find the correct zone (.site) and check the box next to it. The transfer price will be shown on the right.
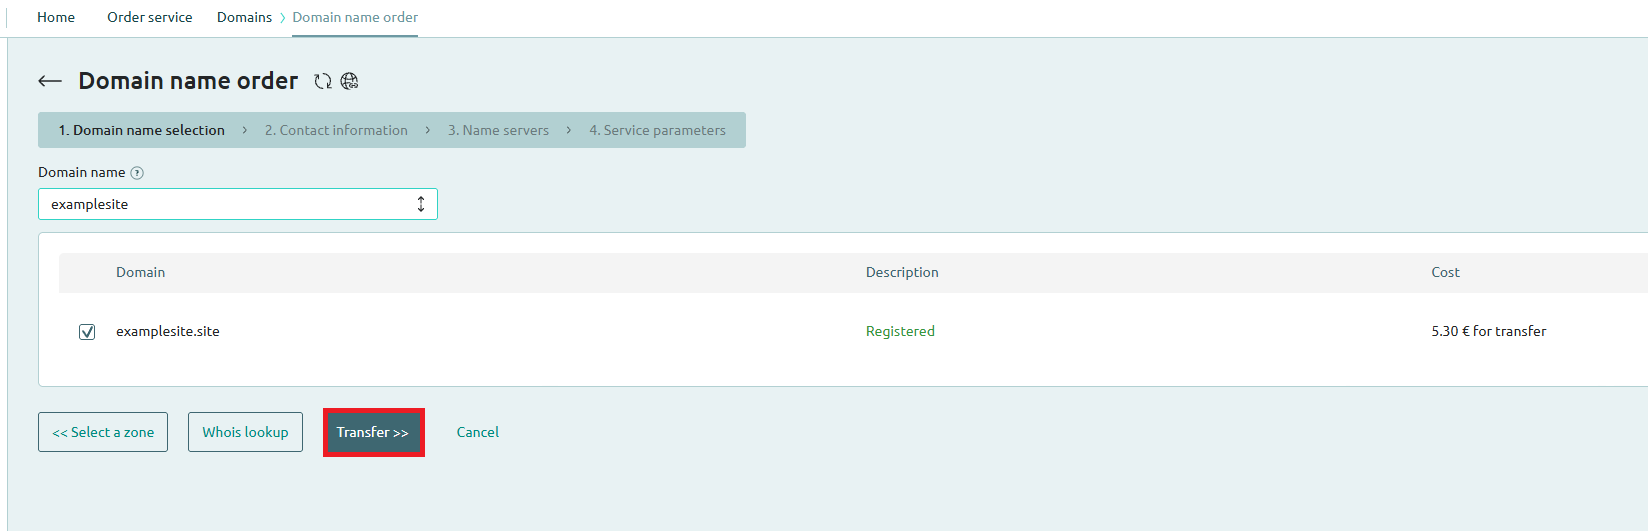
Step 4. The system will verify your domain and show a confirmation: status Registered and the total cost.
Click Transfer.
Step 5. Fill in the domain owner's contact details.
Part 2. Preparing the Domain for Transfer (Namecheap)
Now go to your current registrar (Namecheap) to authorize the transfer.
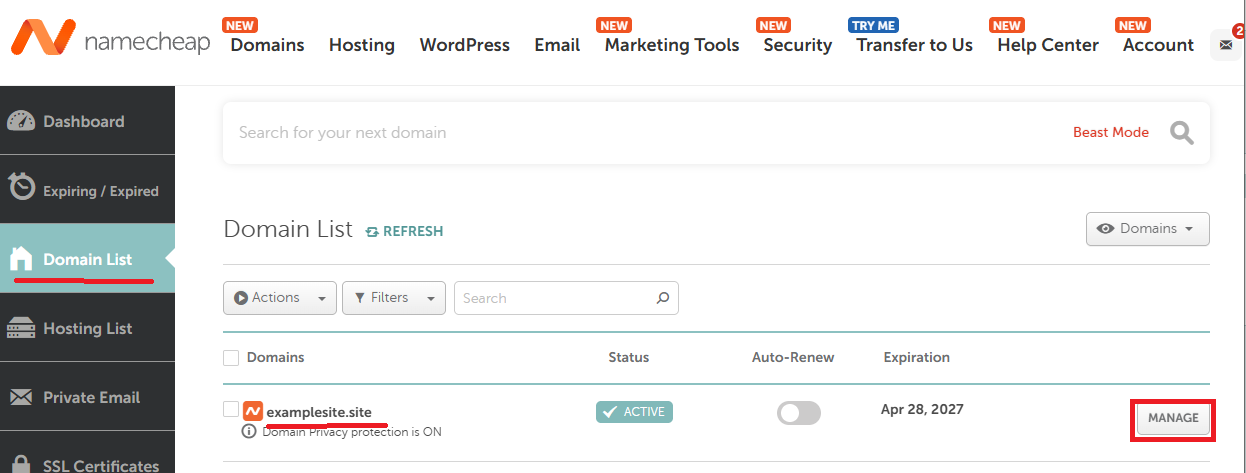
Step 6. Log in to your Namecheap account. In the left menu, select Domain List and click Manage next to your domain.
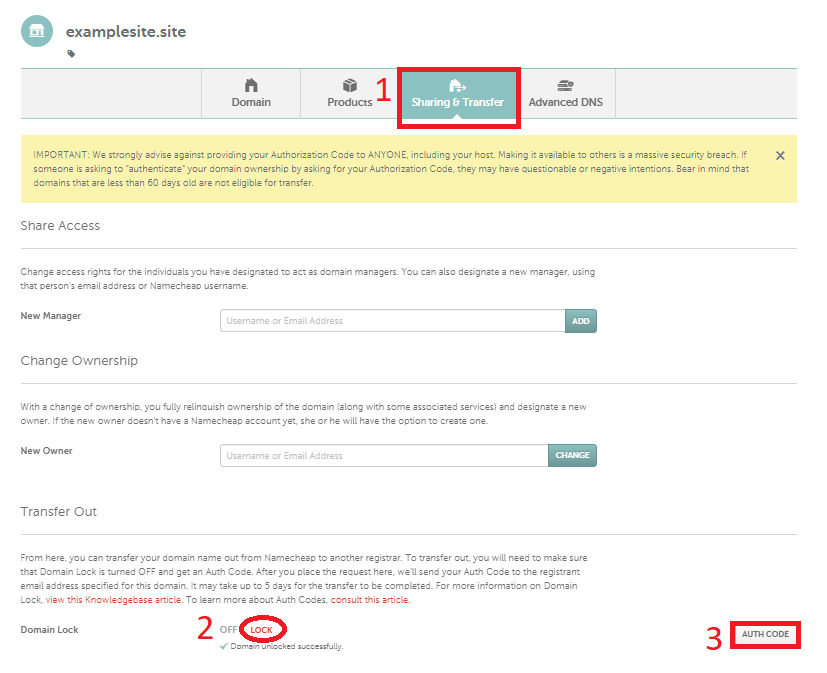
Step 7. Go to the Sharing & Transfer tab. Find the Transfer Out section. Make sure Domain Lock is disabled. Click Send Auth Code — the code will be sent to your email.
Note: The Auth Code (EPP Code) is like a password for your domain. Only enter it in THE.Hosting panel.
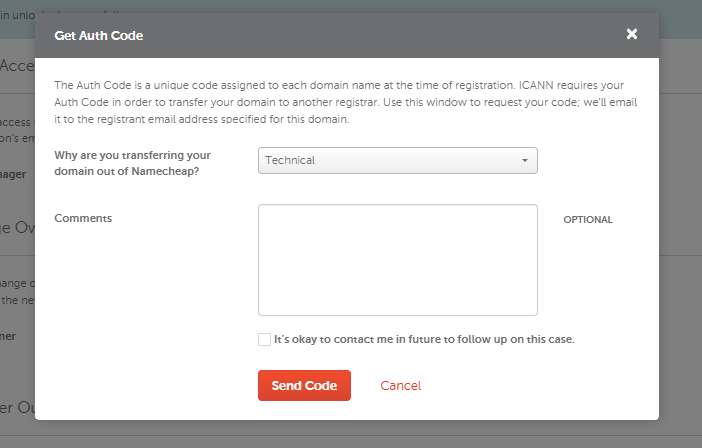
Step 8. The Get Auth Code window will open. Select the transfer reason from the dropdown (e.g., Technical Reasons) and click Continue. Copy the Auth Code sent to your email.
Part 3. Completing the Transfer in THE.Hosting Panel
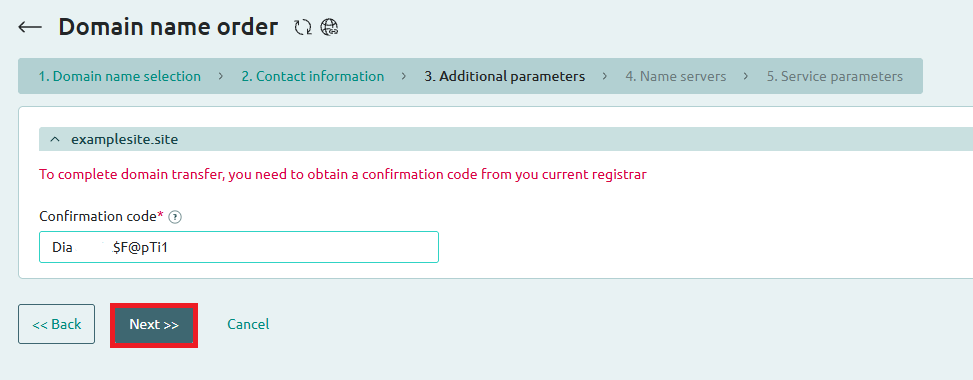
Step 9. Return to THE.Hosting panel. On the Additional Information step, enter the Auth Code (EPP Code) you received.
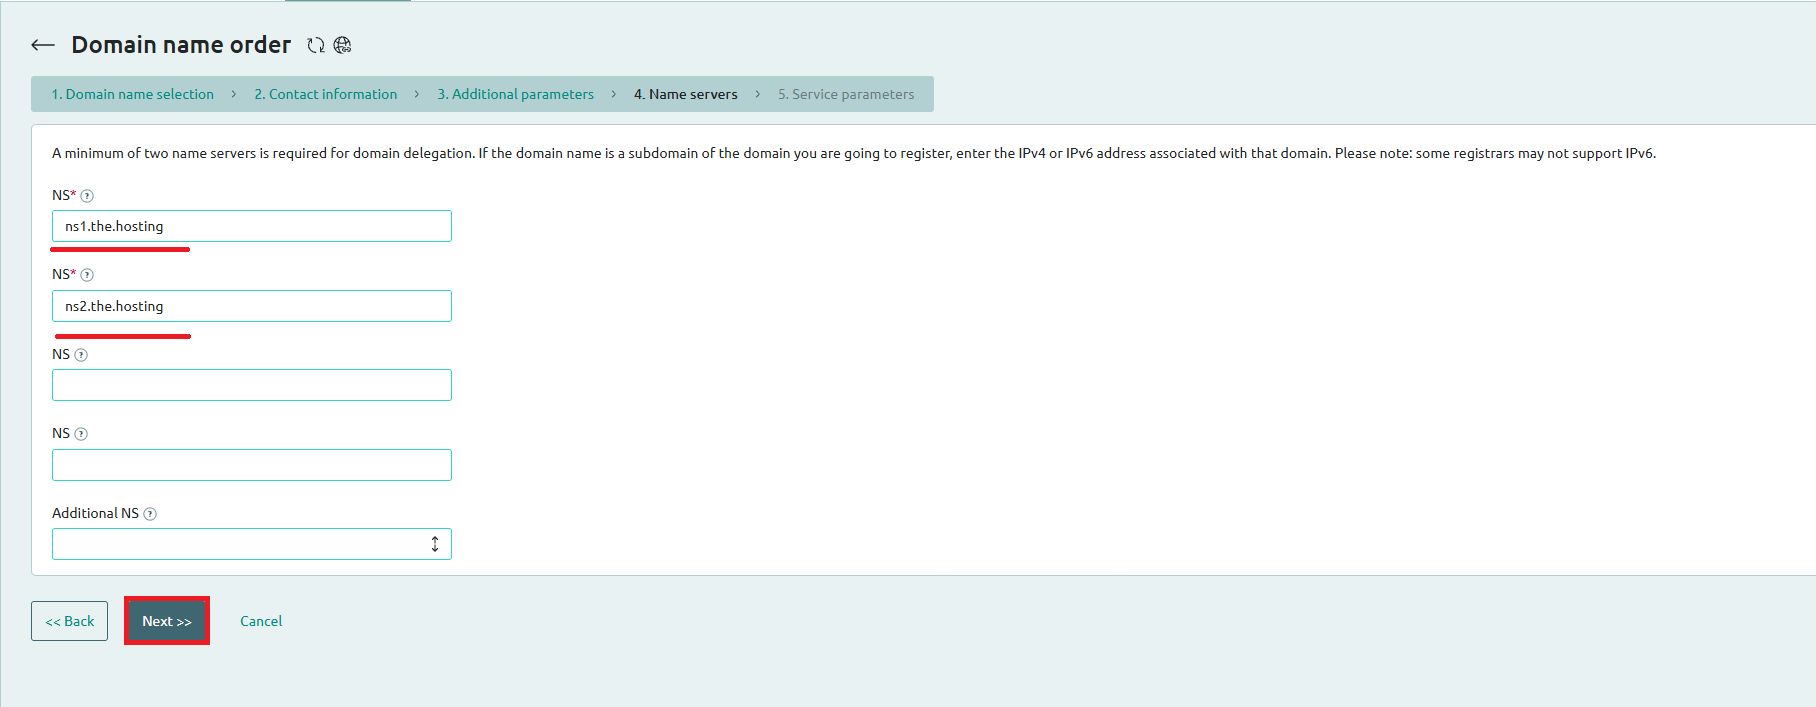
Step 10. On the Name servers step, enter THE.Hosting name servers:
ns1.the.hostingns2.the.hostingClick Next.
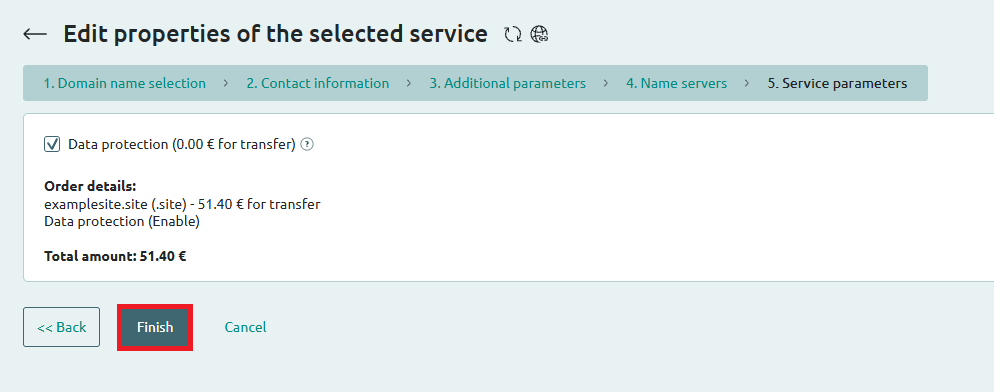
Step 11. On the final Service parameters step, review the total amount. The Data protection option is included at no additional cost. Click Finish.
Done! The transfer request has been submitted. You will receive a confirmation email. The transfer usually takes 5-7 days to complete.