


CyberPanel is a server control panel that helps you manage websites and basic server tasks through a convenient web interface. It’s useful if you want to deploy an environment for your projects faster and manage everything without constant manual configuration via the command line: add a domain, issue an SSL certificate, create a database, set up users, and keep everything “in one window.”
If you need to install CyberPanel without lengthy preparation or extra steps, THE.Hosting lets you do it literally in just a few minutes.
Getting started in the control panel
1. Go to the THE.Hosting website and log in to your personal account. Your login and password are usually sent by email after registration.
2. In the panel, open the “Virtual Servers” section. Select the VPS where you want to install CyberPanel and go to its settings.
What if you don’t have a server yet?
That’s not a problem — ordering a server is quick:
2.1. On the main page, choose the country or region where the server will be located. The logic is simple: the closer the server is to your audience, the faster your websites and services will load.
2.2. Choose a plan. If you’re planning to run several websites, email, and databases, it makes sense to pick a plan with some extra resources.
2.3. Specify the configuration, rental period, and click “Order.” After payment, the server will be ready to use.
Installing CyberPanel
From here, everything is straightforward: just run the installation script and the system will do the rest for you.
3. In the settings of the selected server, open the “Virtual Machines” section.
4. Find the required machine, click the three-dot icon, and select “Run script.”
5. Type CyberPanel in the search field. Select the CyberPanel installation script and confirm запуск.
6. Wait a few minutes. The installation progress is shown in the “Status” section — it’s convenient because you can monitor everything directly from the panel.
7. Once the installation is complete, you’ll receive an email with access details: a link to log in to CyberPanel, a username, and a password. If the email doesn’t arrive right away, be sure to check your Spam folder.
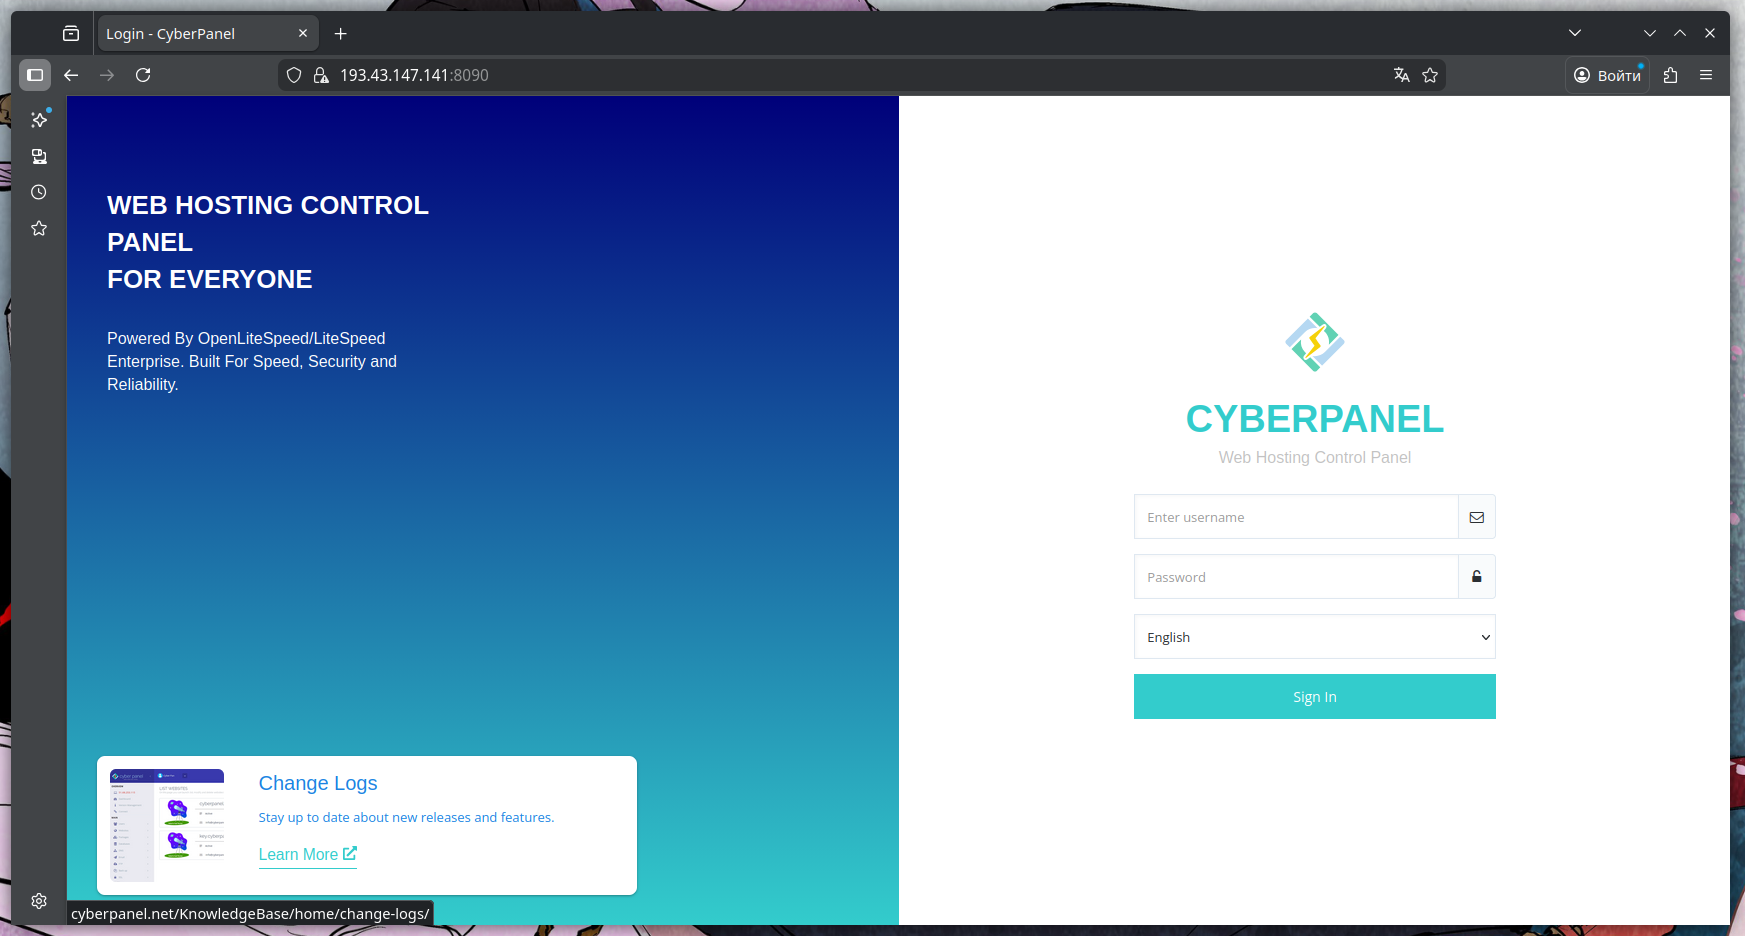
What’s next
CyberPanel is installed! You can now log in to the panel and start configuring your project. Usually, the first steps are changing the administrator password, linking a domain, and creating a website, then enabling SSL and checking basic security settings. After that, you can safely upload your content and put the project into production.